VirtualBox and VMware Workstation are not the only solutions to create a virtual machine on Windows. I just discovered NanaBox, an open source virtualization software that is based on technologies built into Windows.
Developed by Kenji Mouri, to whom we also owe NanaZip, NanaBox allows you to create and run virtual machines from a lightweight interface. In this article I invite you to discover what it offers, but also how to create a first virtual machine with it.
NanaBox, a virtualization software not like the others
NanaBox It is a pretty special virtualization software. Unlike VirtualBox or VMware Workstation, it does not have its own virtualization engine. It is based on Host Compute System (HCS), a Windows technology based on Hyper-V.
But NanaBox is not a simple alternative to the Hyper-V Manager interface. Virtual machines created with the software are not saved in Hyper-V. Its configuration is saved in a .7b format file, based on JSON, which you can store wherever you want and open directly with NanaBox.
Despite its minimalist interface, NanaBox offers quite a few interesting features. In particular, it supports Secure Boot, TPM 2.0, nested virtualization, file sharing between the host and the virtual machine or even GPU sharing with GPU-PV. However, some of these features require a recent version of Windows or specific configuration.
What you need before you start
Before installing NanaBox, check that your PC meets some prerequisites. The software requires Windows 10 version 2004 (build 19041) or later, on an x64 or ARM64 machine. Windows Server 2022 and later are also supported.
Hardware virtualization must also be enabled in your PC’s BIOS or UEFI. Depending on the processor, you will usually find it under the name Intel Virtualization Technology (VT-x) or AMD-V or SVM Mode on AMD.
However, it is not necessary to install Hyper-V in its entirety to use NanaBox. Windows’ “Virtual Computer Platform” feature may be enough, allowing you to take advantage of it in Windows 11 Home.
Install NanaBox on Windows
To install NanaBox, you have two options available: download it from Microsoft Store or get the latest version directly from GitHub.
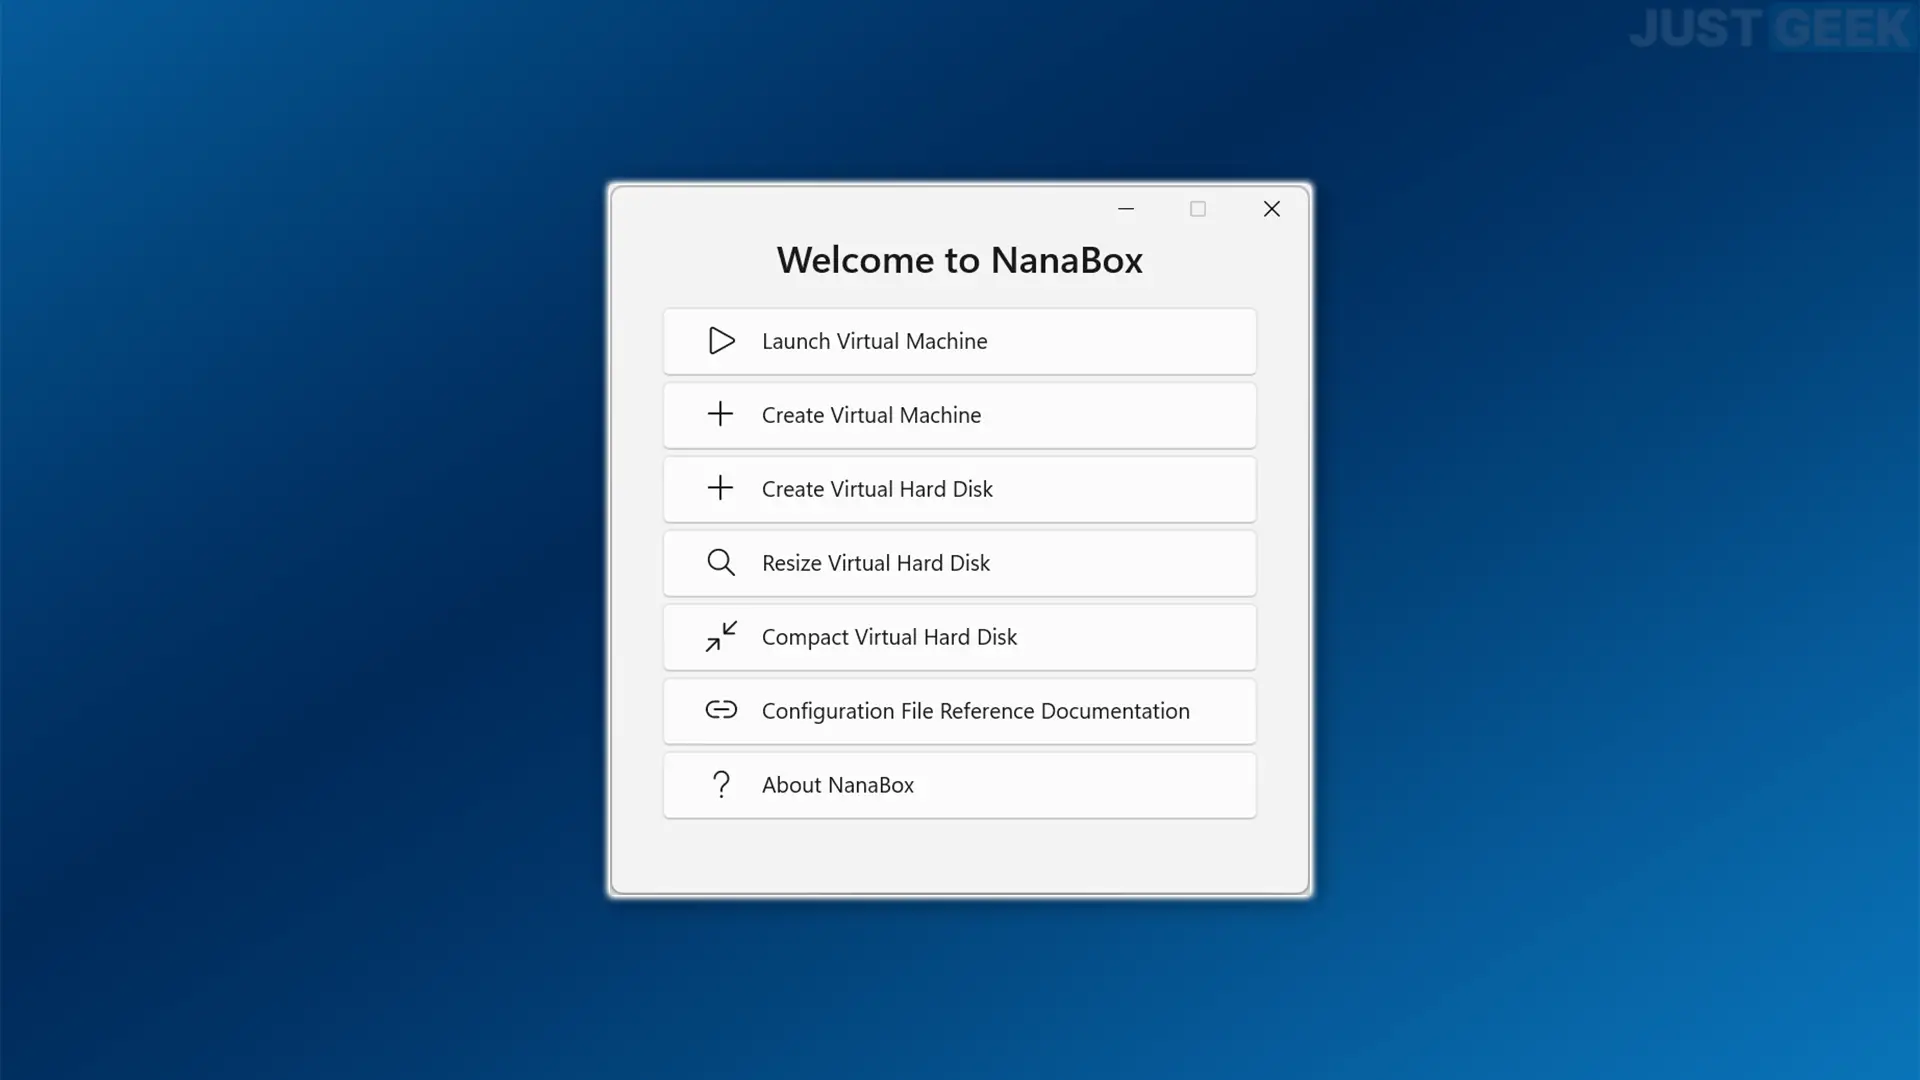
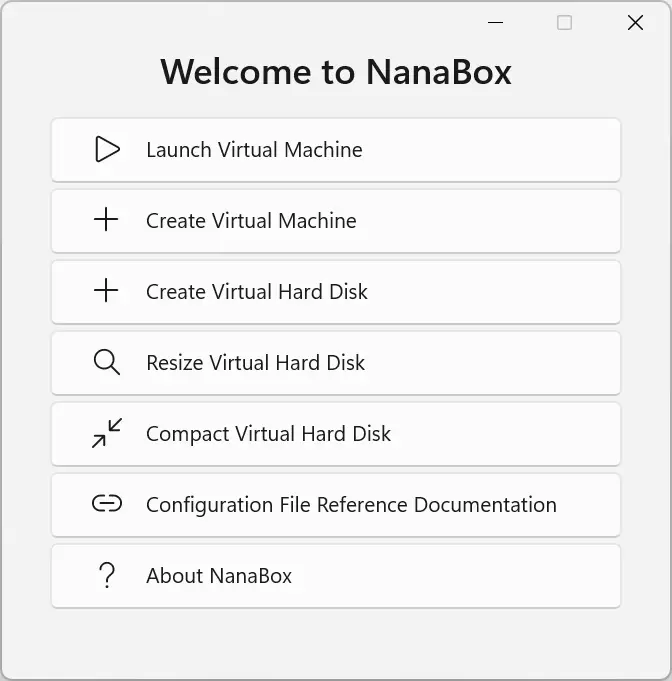
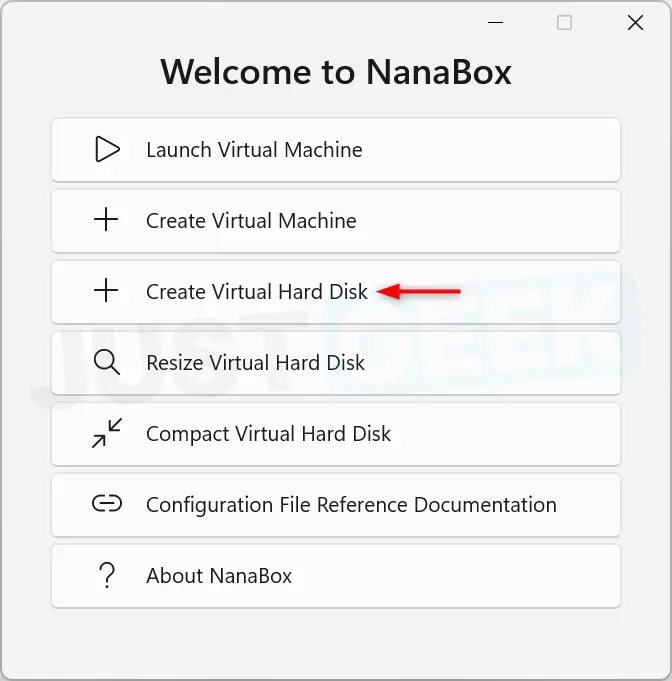
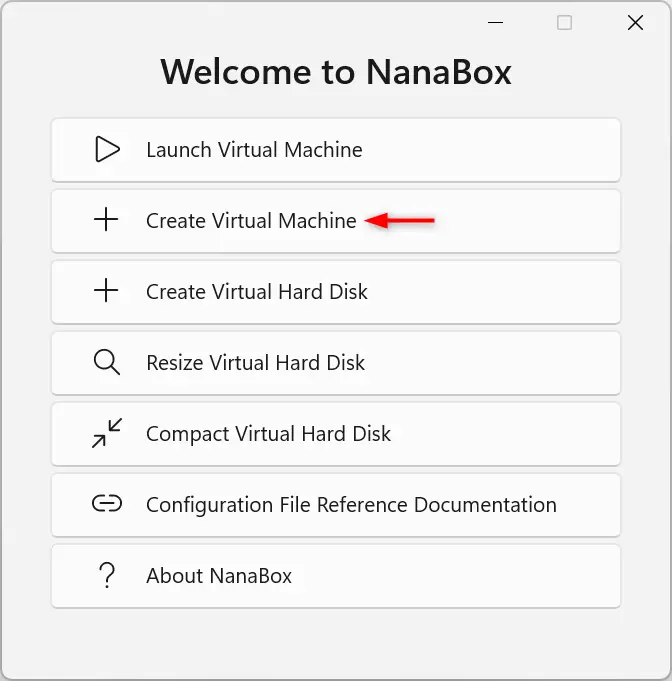
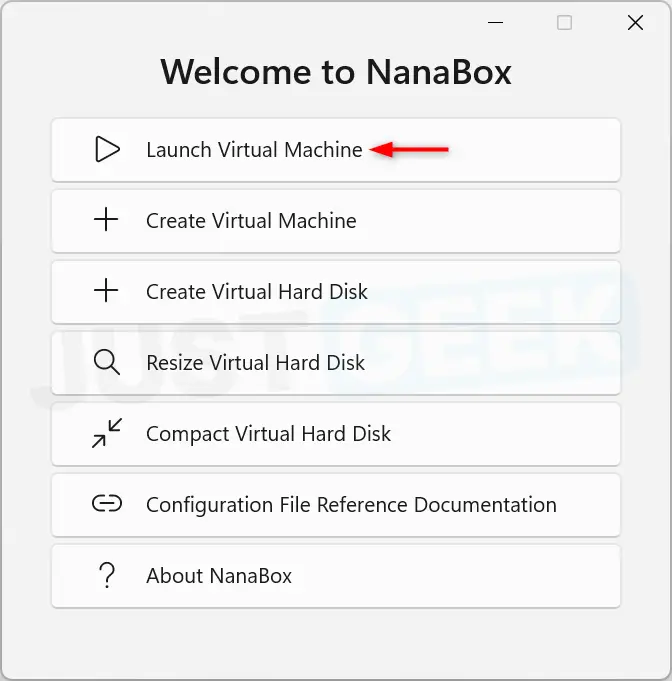
Once the installation is complete, launch NanaBox from the Start menu. You arrive at a small window that allows you to create or start a virtual machine, but also create, resize or compact a virtual hard drive.
Create a virtual machine with NanaBox
For this first test, I chose to install Ubuntu 26.04. If you want to do the same, start by downloading the Ubuntu ISO image.
1. Create a virtual hard drive
Before creating our virtual machine, we need a disk to install Ubuntu on. From the NanaBox home screen, click ” Create virtual hard drive “.
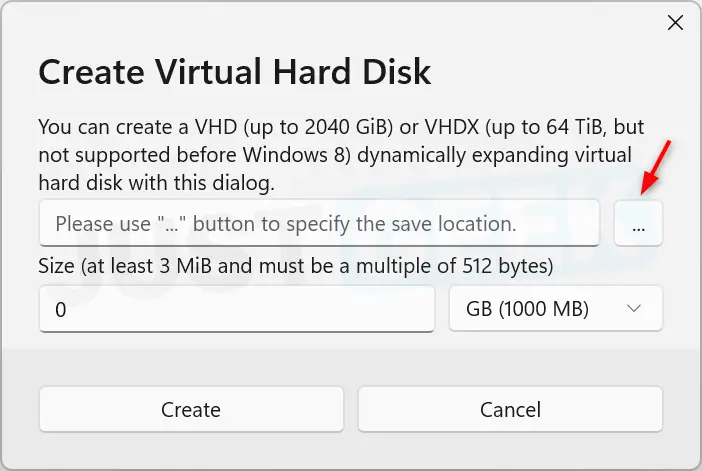
In the window that appears, click on the three small dots (…) to choose the location of the disk and give it a name.
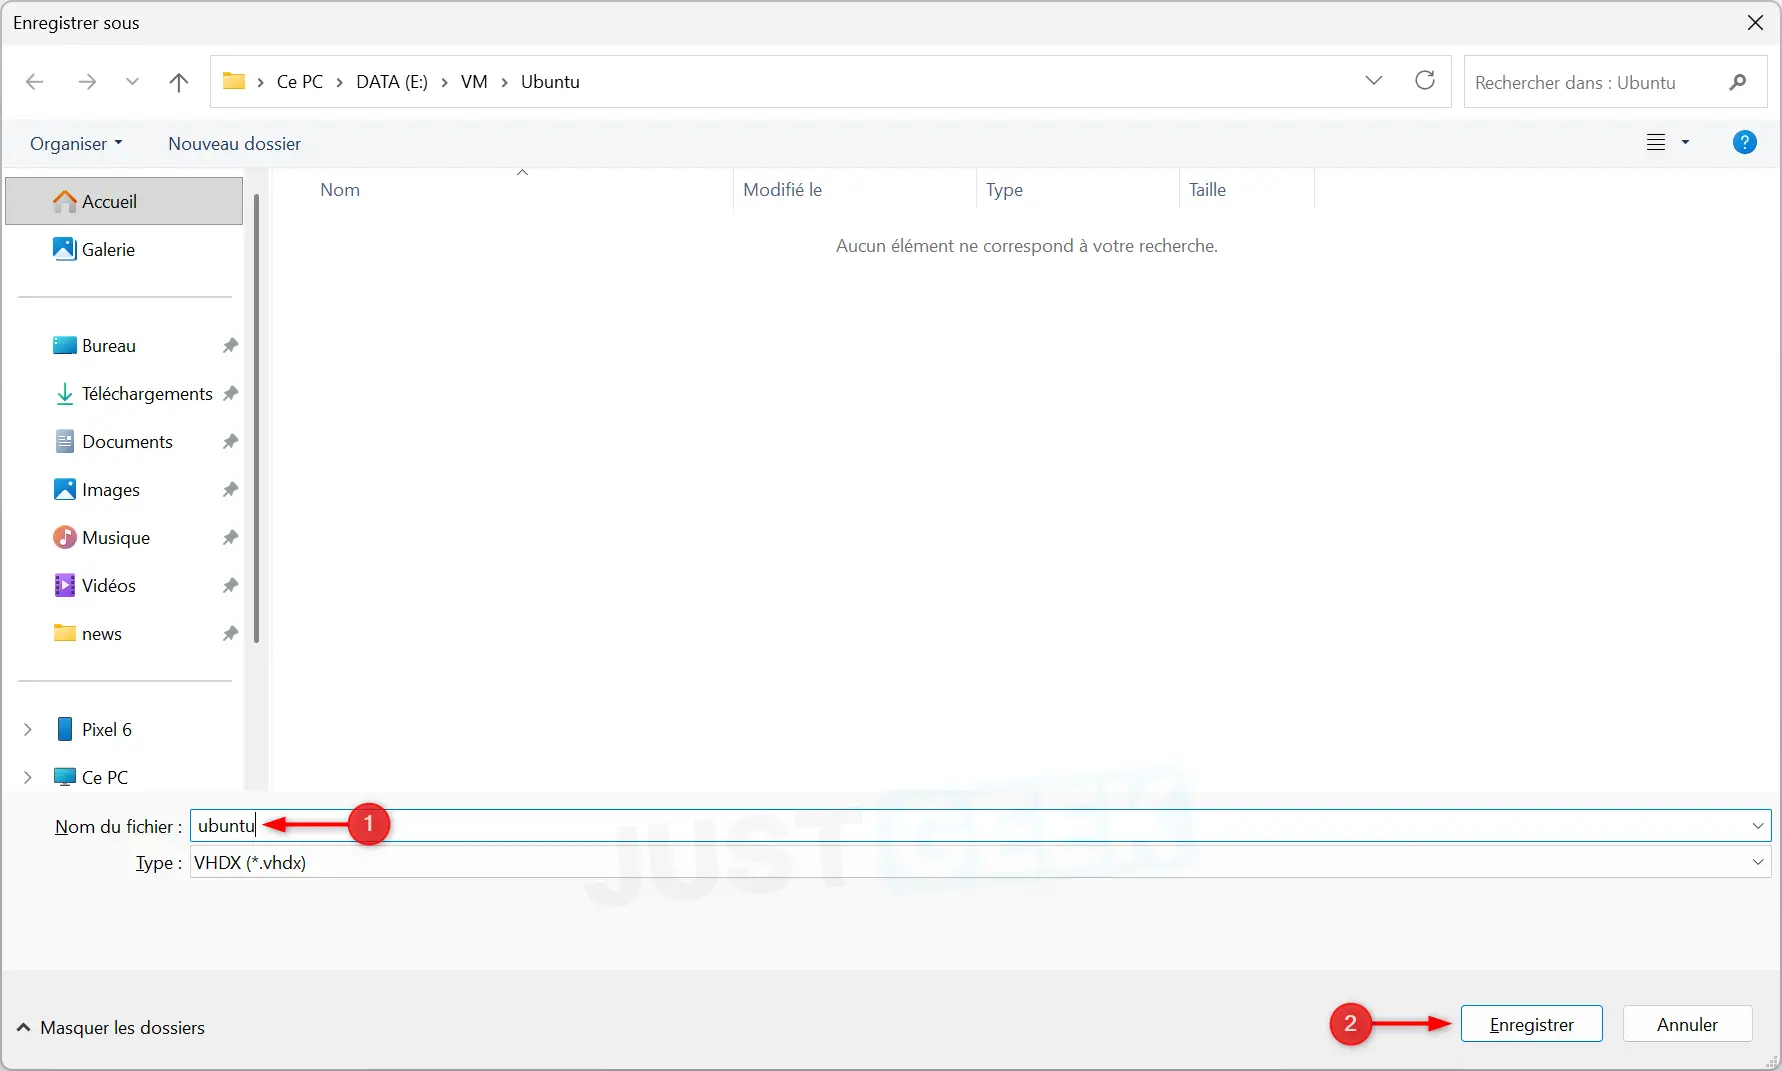
For my part, I created a file ubuntu.vhdx in the file E:\VM\Ubuntu.
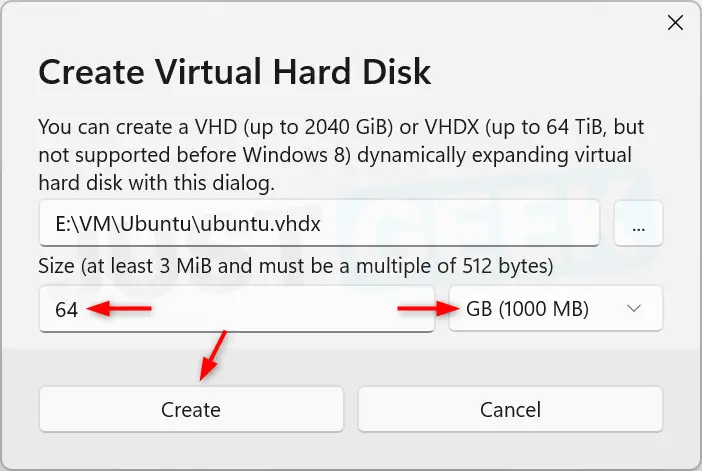
Its capacity remains to be defined. I opted for 64GBwhich leaves plenty of room for Ubuntu and some programs. Since the drive is dynamically sized, it won’t immediately take up 64GB on your SSD. Its size will gradually increase as you install software and save files to the virtual machine.
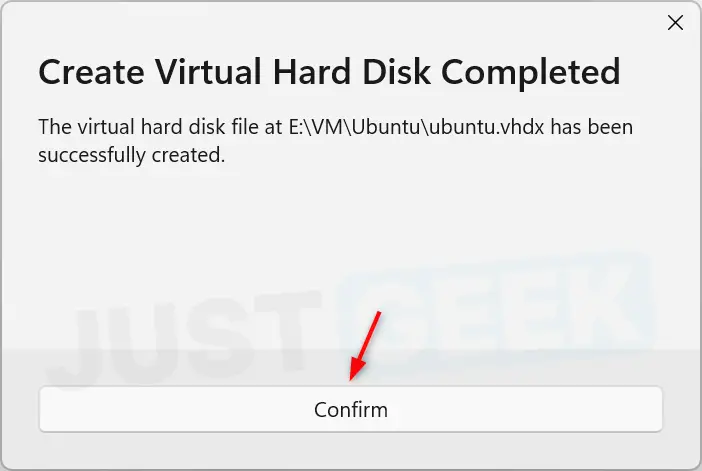
Click ” Create “. NanaBox then displays a message confirming that the virtual disk has been created.
2. Create the virtual machine
Back to the NanaBox home screen, this time click “ Create virtual machine “.
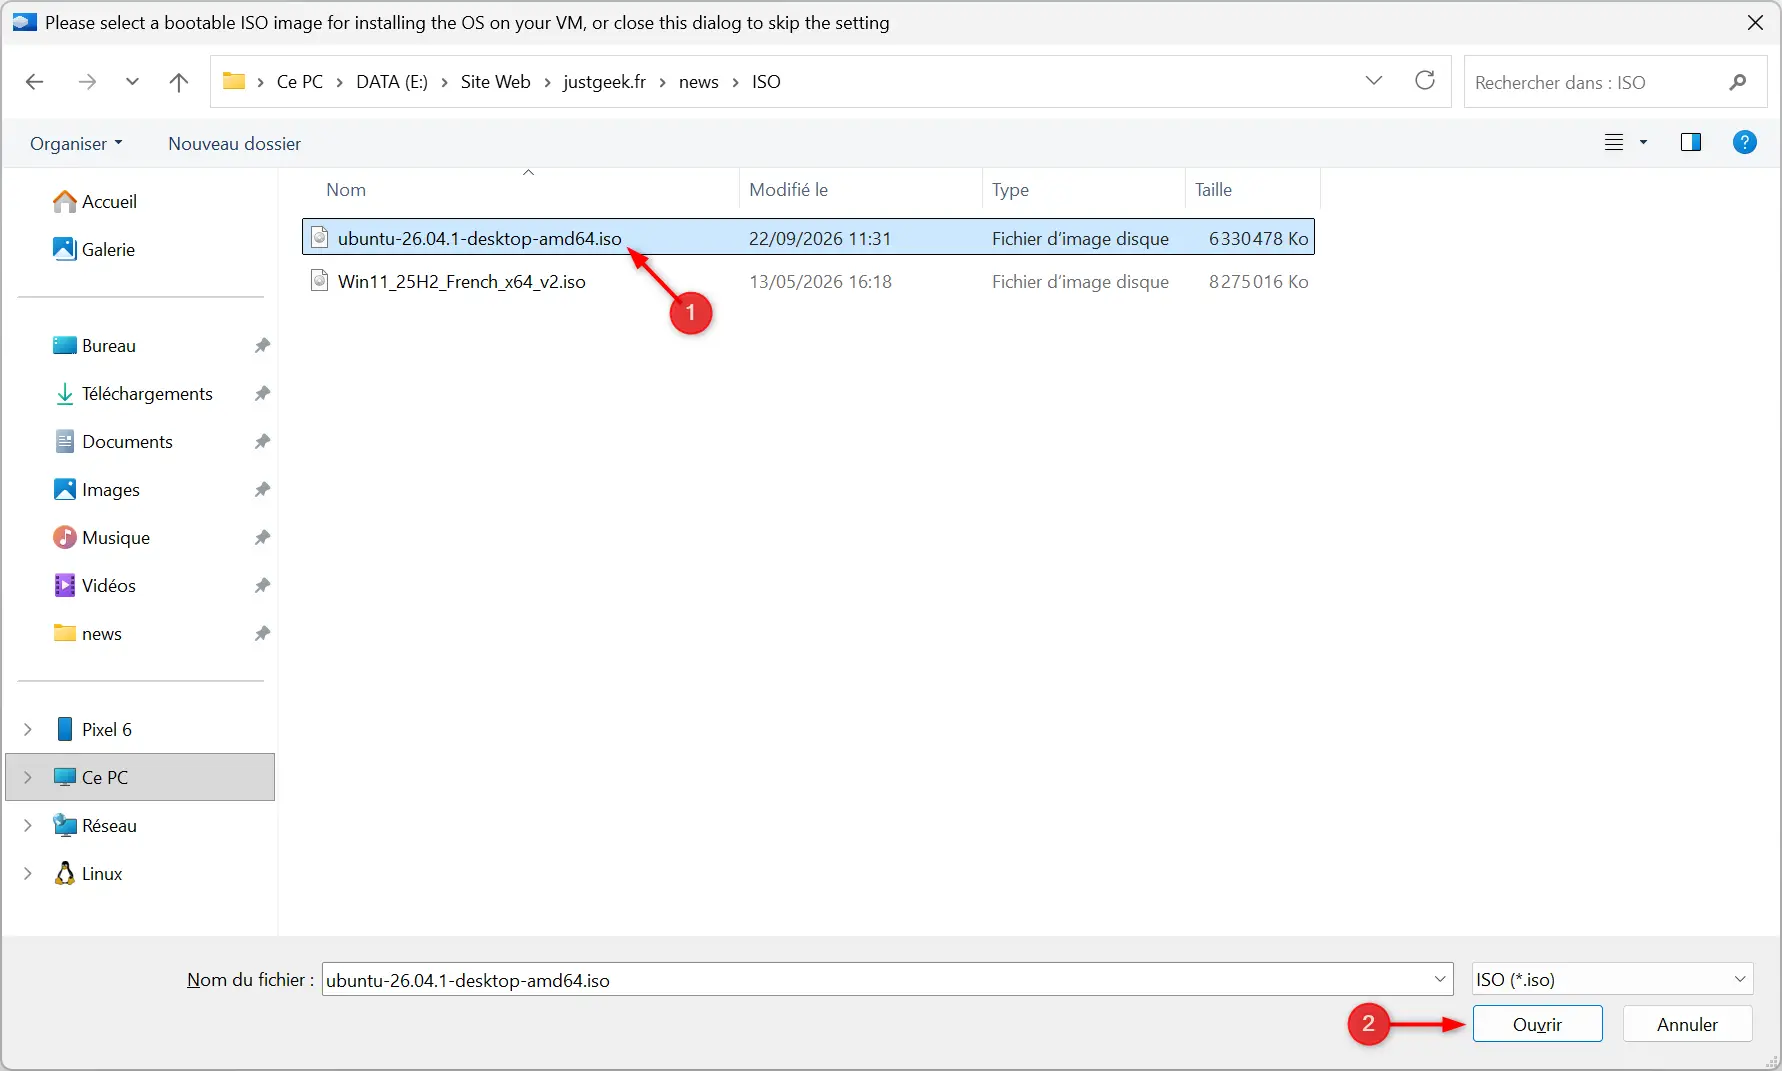
In the window that appears, start with select the ISO image of the operating system you want to install. For my test I used Ubuntu 26.04.1 LTS, downloaded previously.
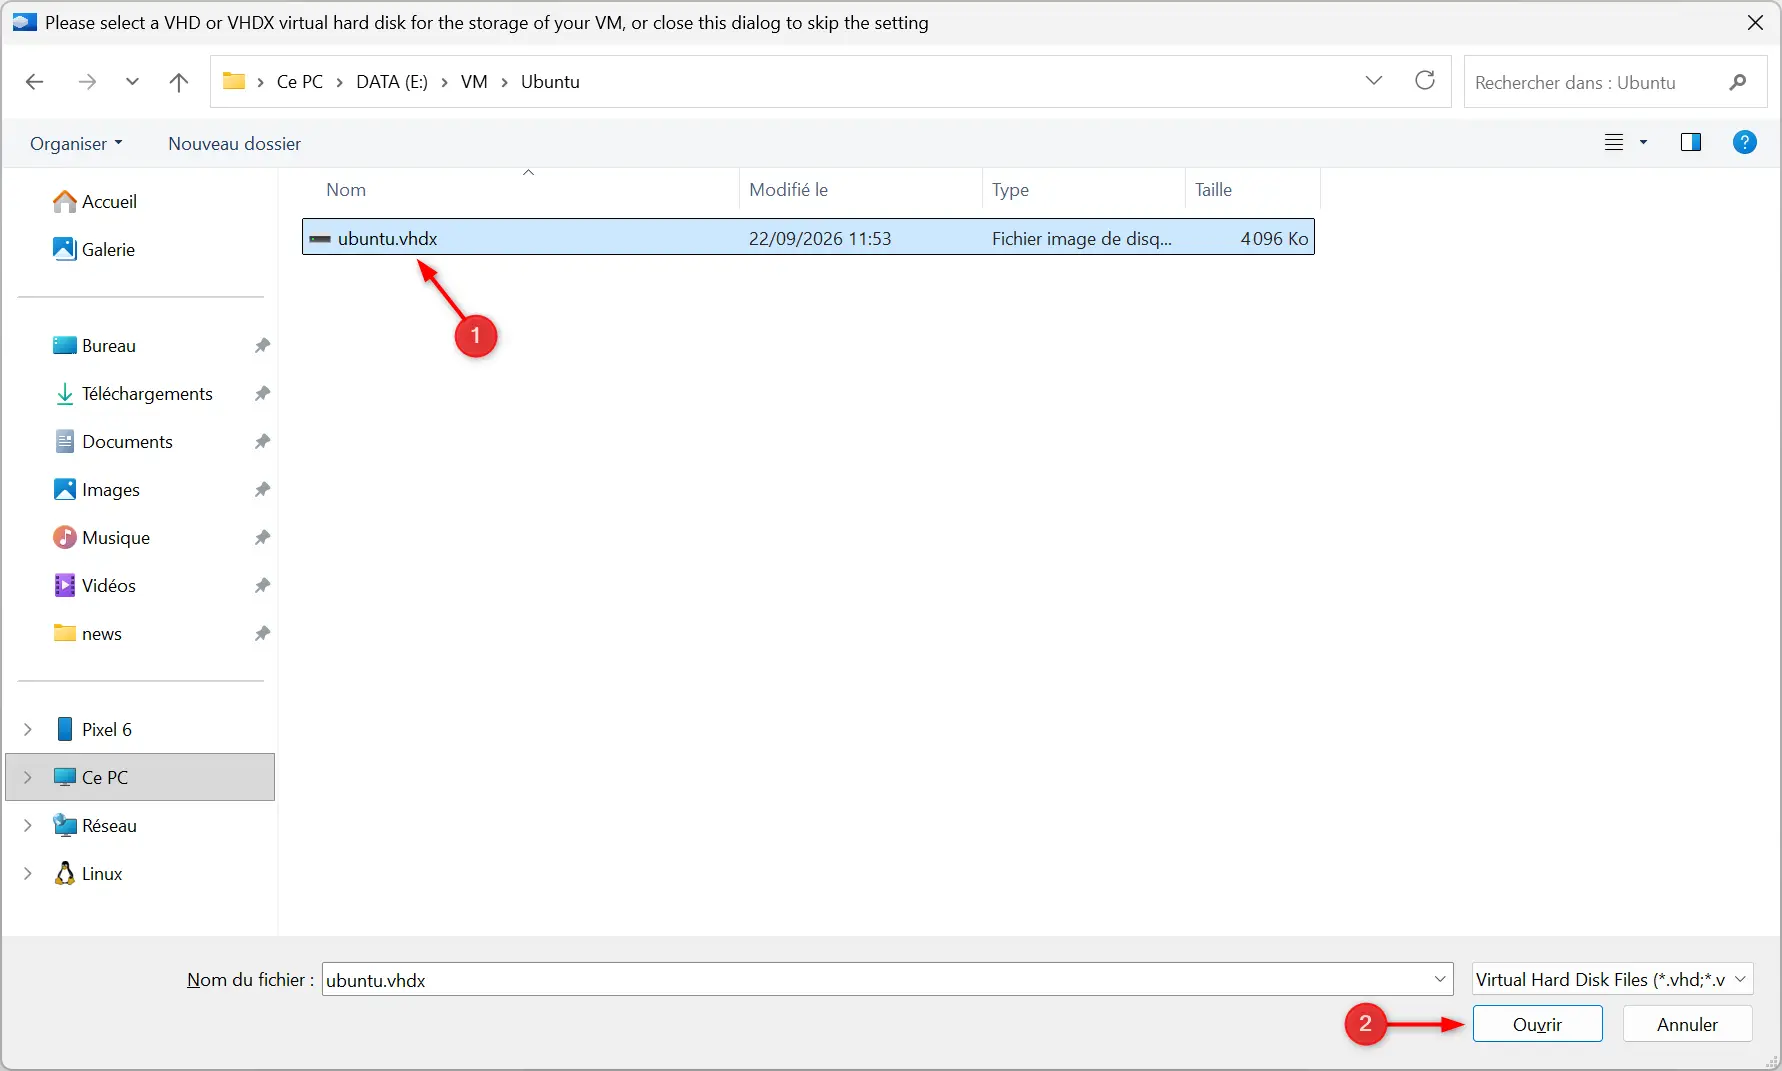
Then select the virtual hard drive. that we just created, that is, the file ubuntu.vhdx. It is on this disk where Ubuntu will be installed.
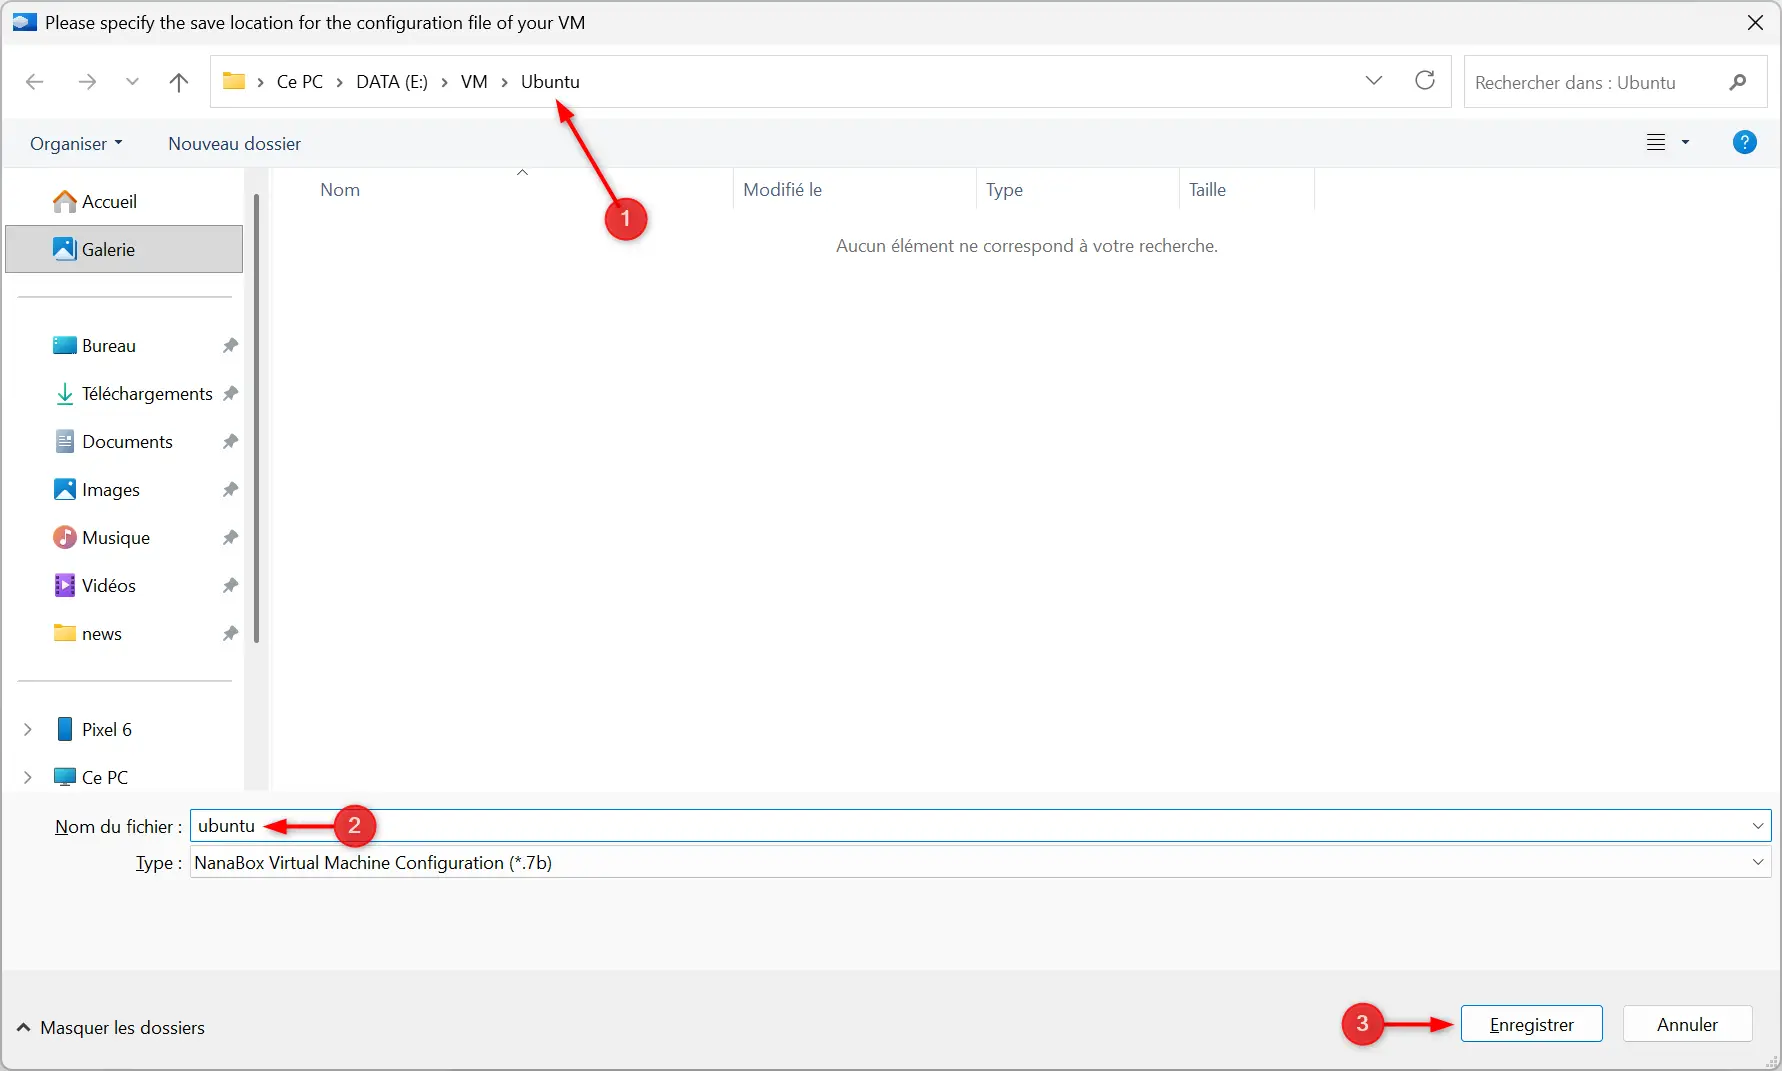
All that’s left is choose where to save the virtual machine configuration file. I kept the same folder as for the hard drive, with a file called ubuntu.7b. This file contains the VM configuration, while the VHDX will host the operating system and its data.
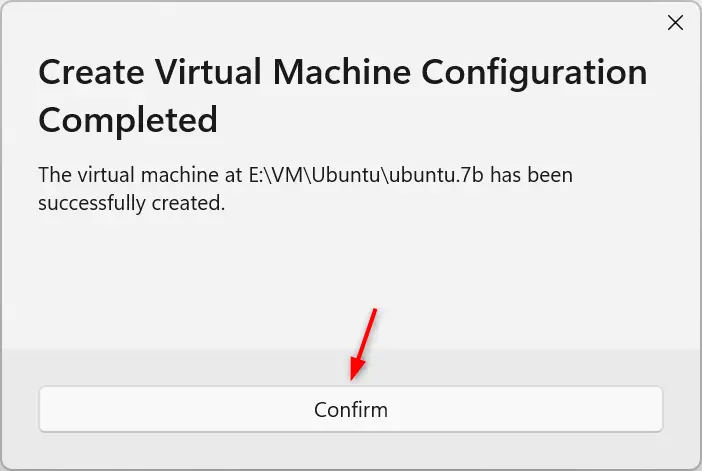
Validate the creation. NanaBox displays a confirmation message when the .7b file has been saved.
3. Increase RAM and the number of processors.
Before starting the virtual machine, I advise you to check the amount of RAM and the number of processors assigned to it. During my first test, NanaBox configured my VM with 2 GB of RAM and two vCPUs. The Ubuntu installation was a bit slow so I ended up interrupting it to increase these values.
To change this setting, open the previously created ubuntu.7b file with a text editor such as Notepad or Notepad++. This is a file in JSON format in which the various configurations of your virtual machine are saved.
Find the lines MemorySize AND ProcessorCount. The first corresponds to the amount of RAM, expressed in MB, and the second to the number of virtual processors. For my part, I assigned 8 GB of RAM and four virtual processors to Ubuntu, modifying the values like this:
"MemorySize": 8192,
"ProcessorCount": 4,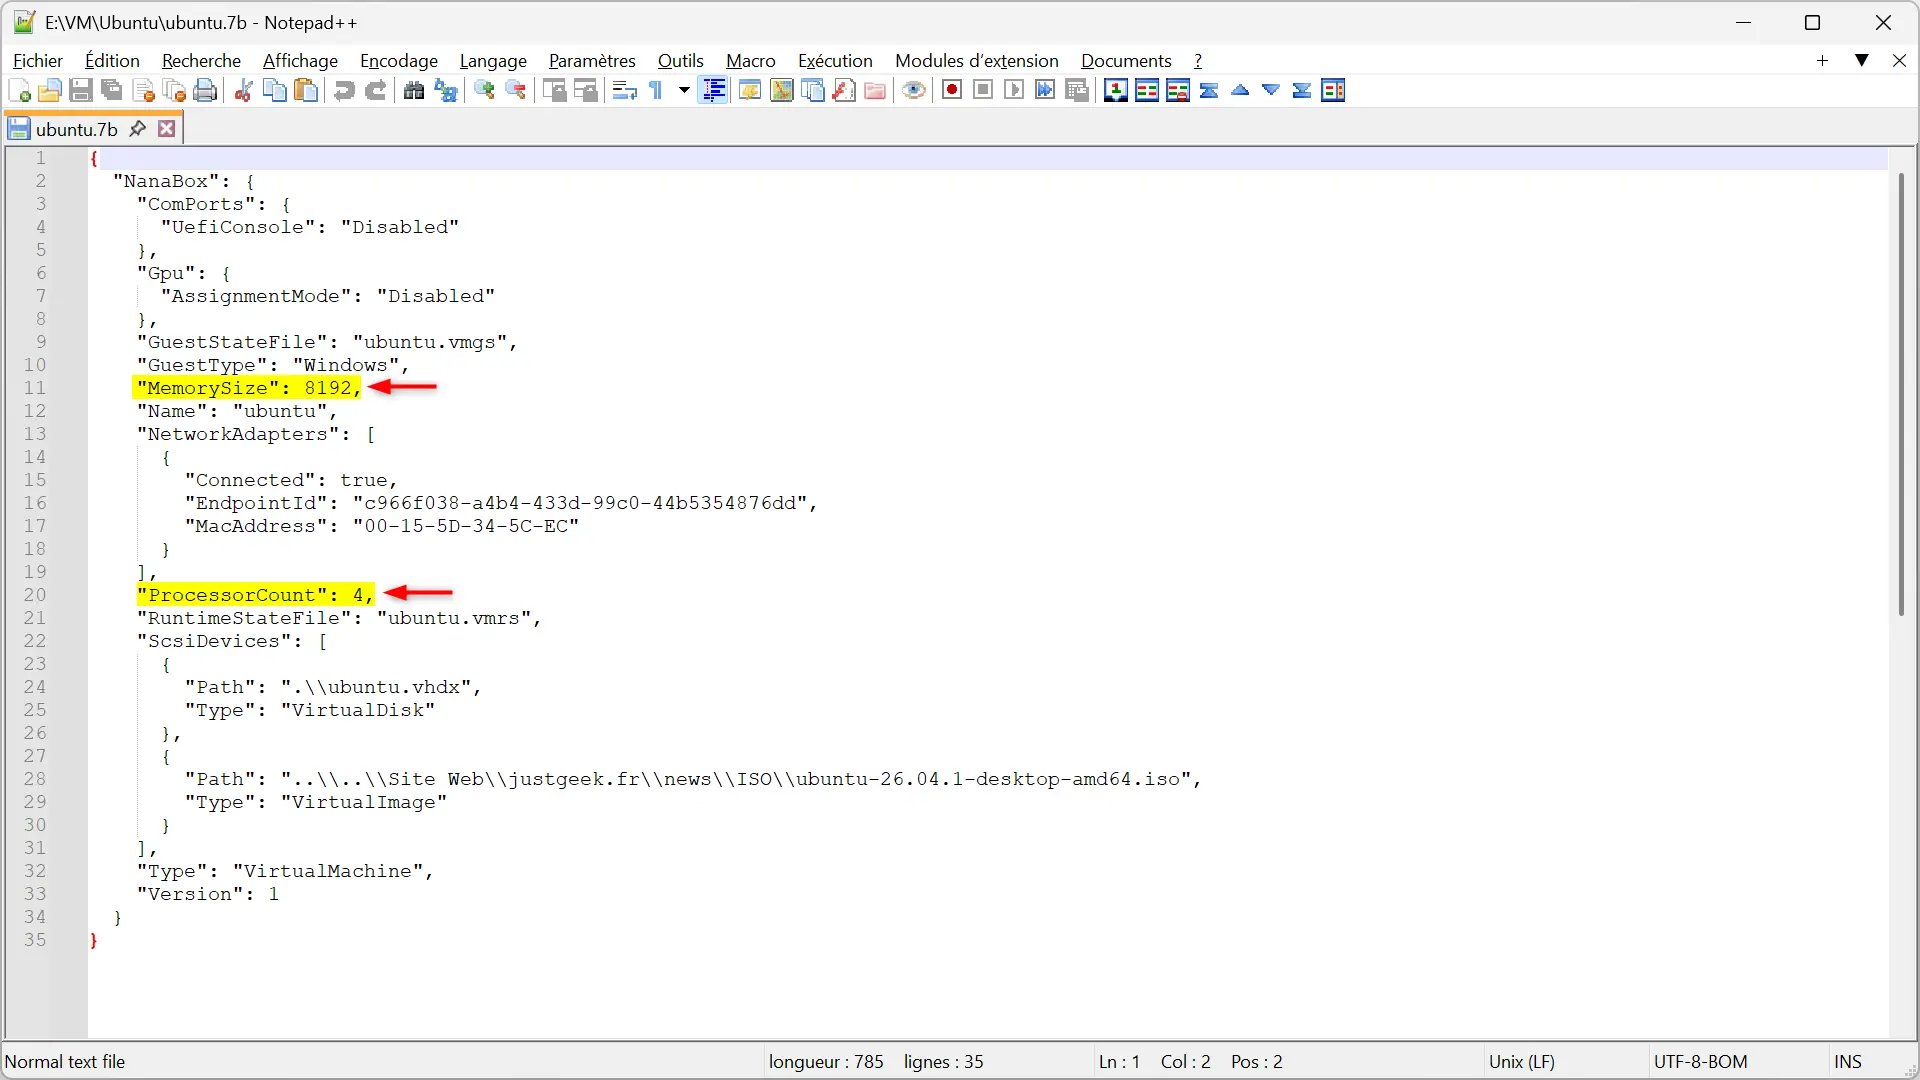
Adapt these values to the resources available on your PC and then save the file. You can always modify them later, as long as you completely shut down the virtual machine first.
And if you’d rather avoid putting your hands in the JSON, I came across NanaBox Configuration Buildera small open source tool that a developer coded to make setting up NanaBox easier.
Simply import your file .7b to find the different settings in a graphical interface. Then you can modify the RAM, the number of processors and many other parameters, then download the modified file.
4. Start the virtual machine and install Ubuntu.
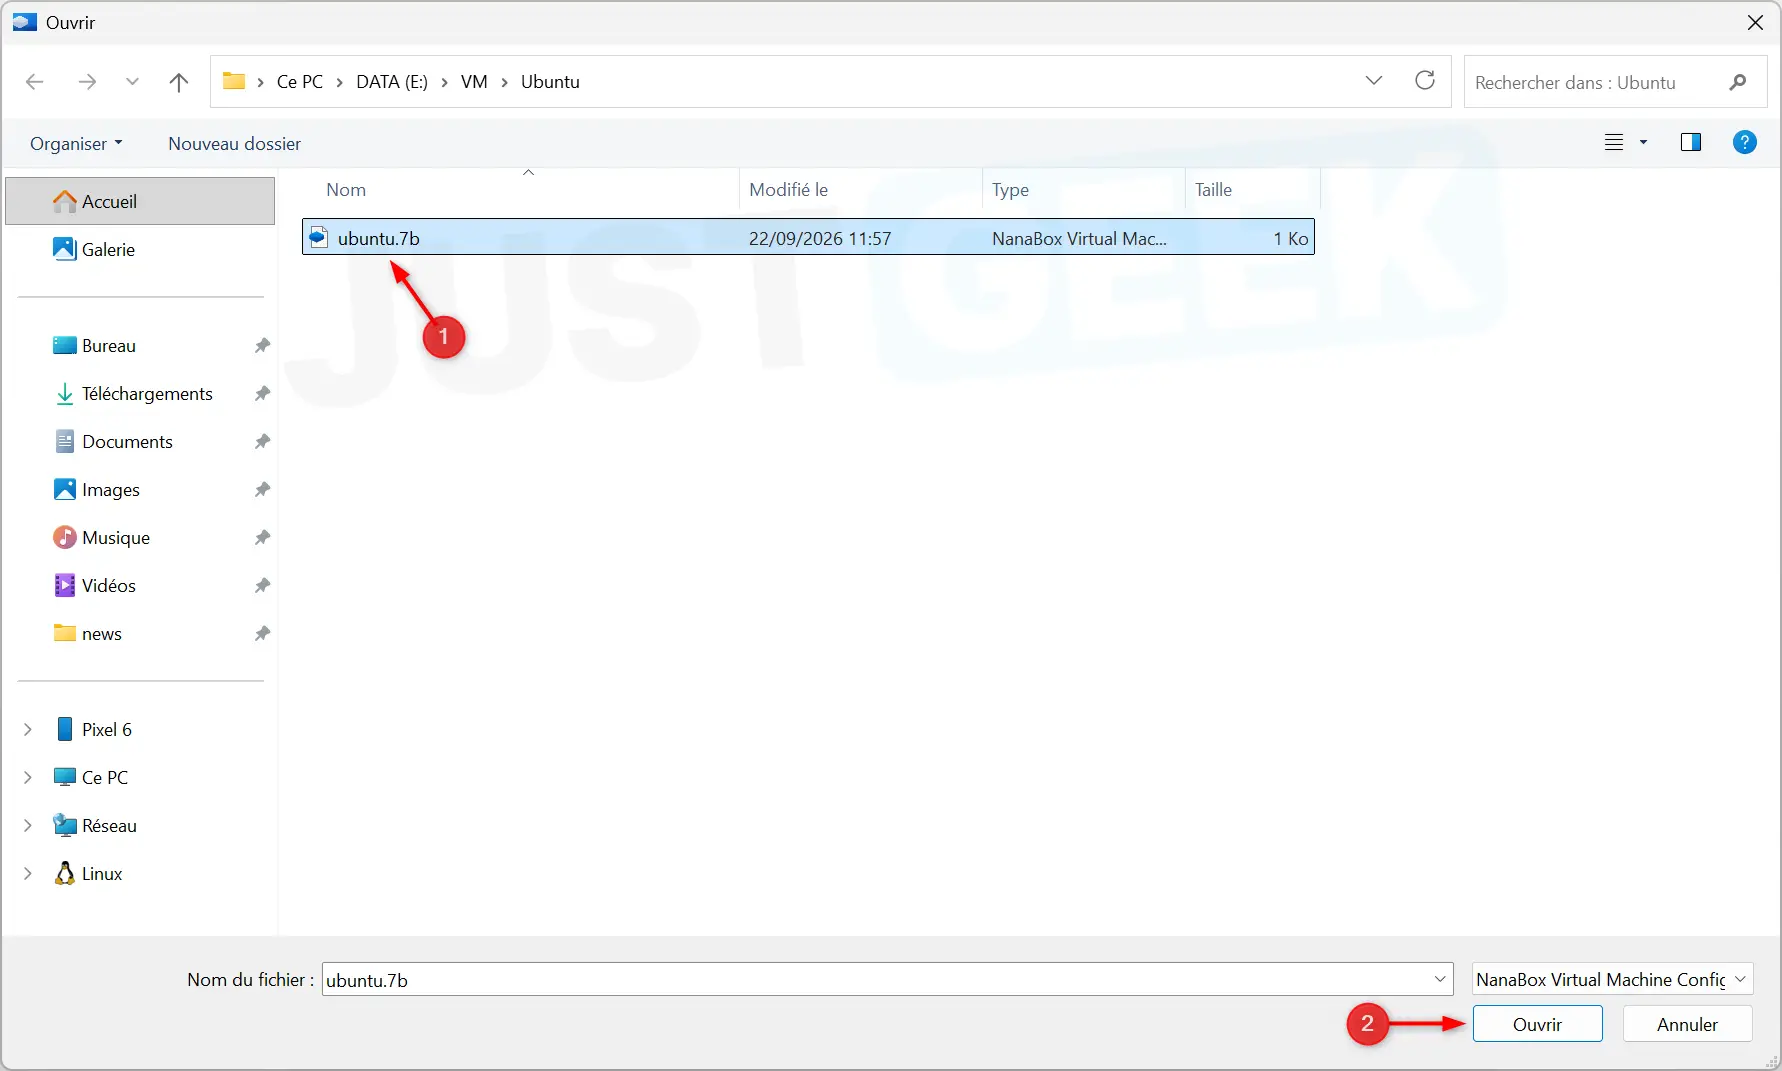
Our virtual machine is now ready. From the NanaBox home screen, click ” Start virtual machine “, So select the ubuntu.7b file previously created.
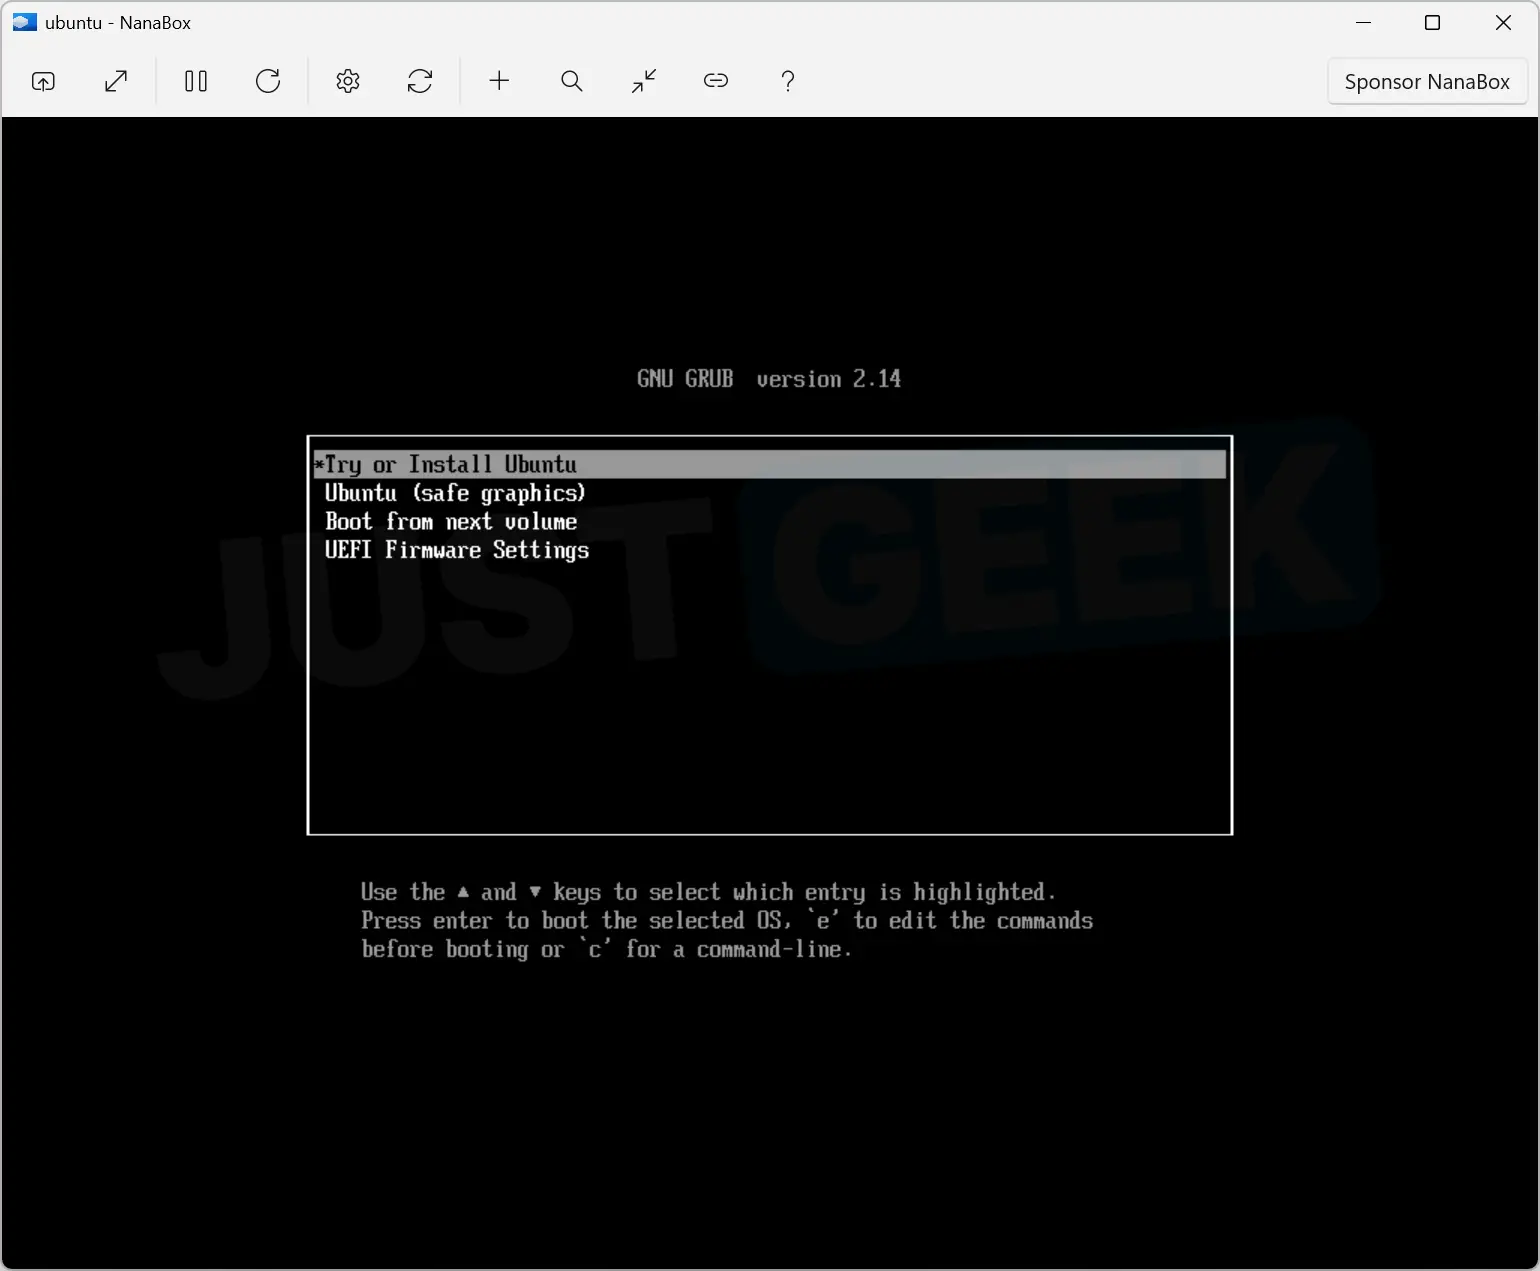
NanaBox then boots to the Ubuntu ISO image. From the menu that appears, choose ” Try or install Ubuntu » and press Entrance.
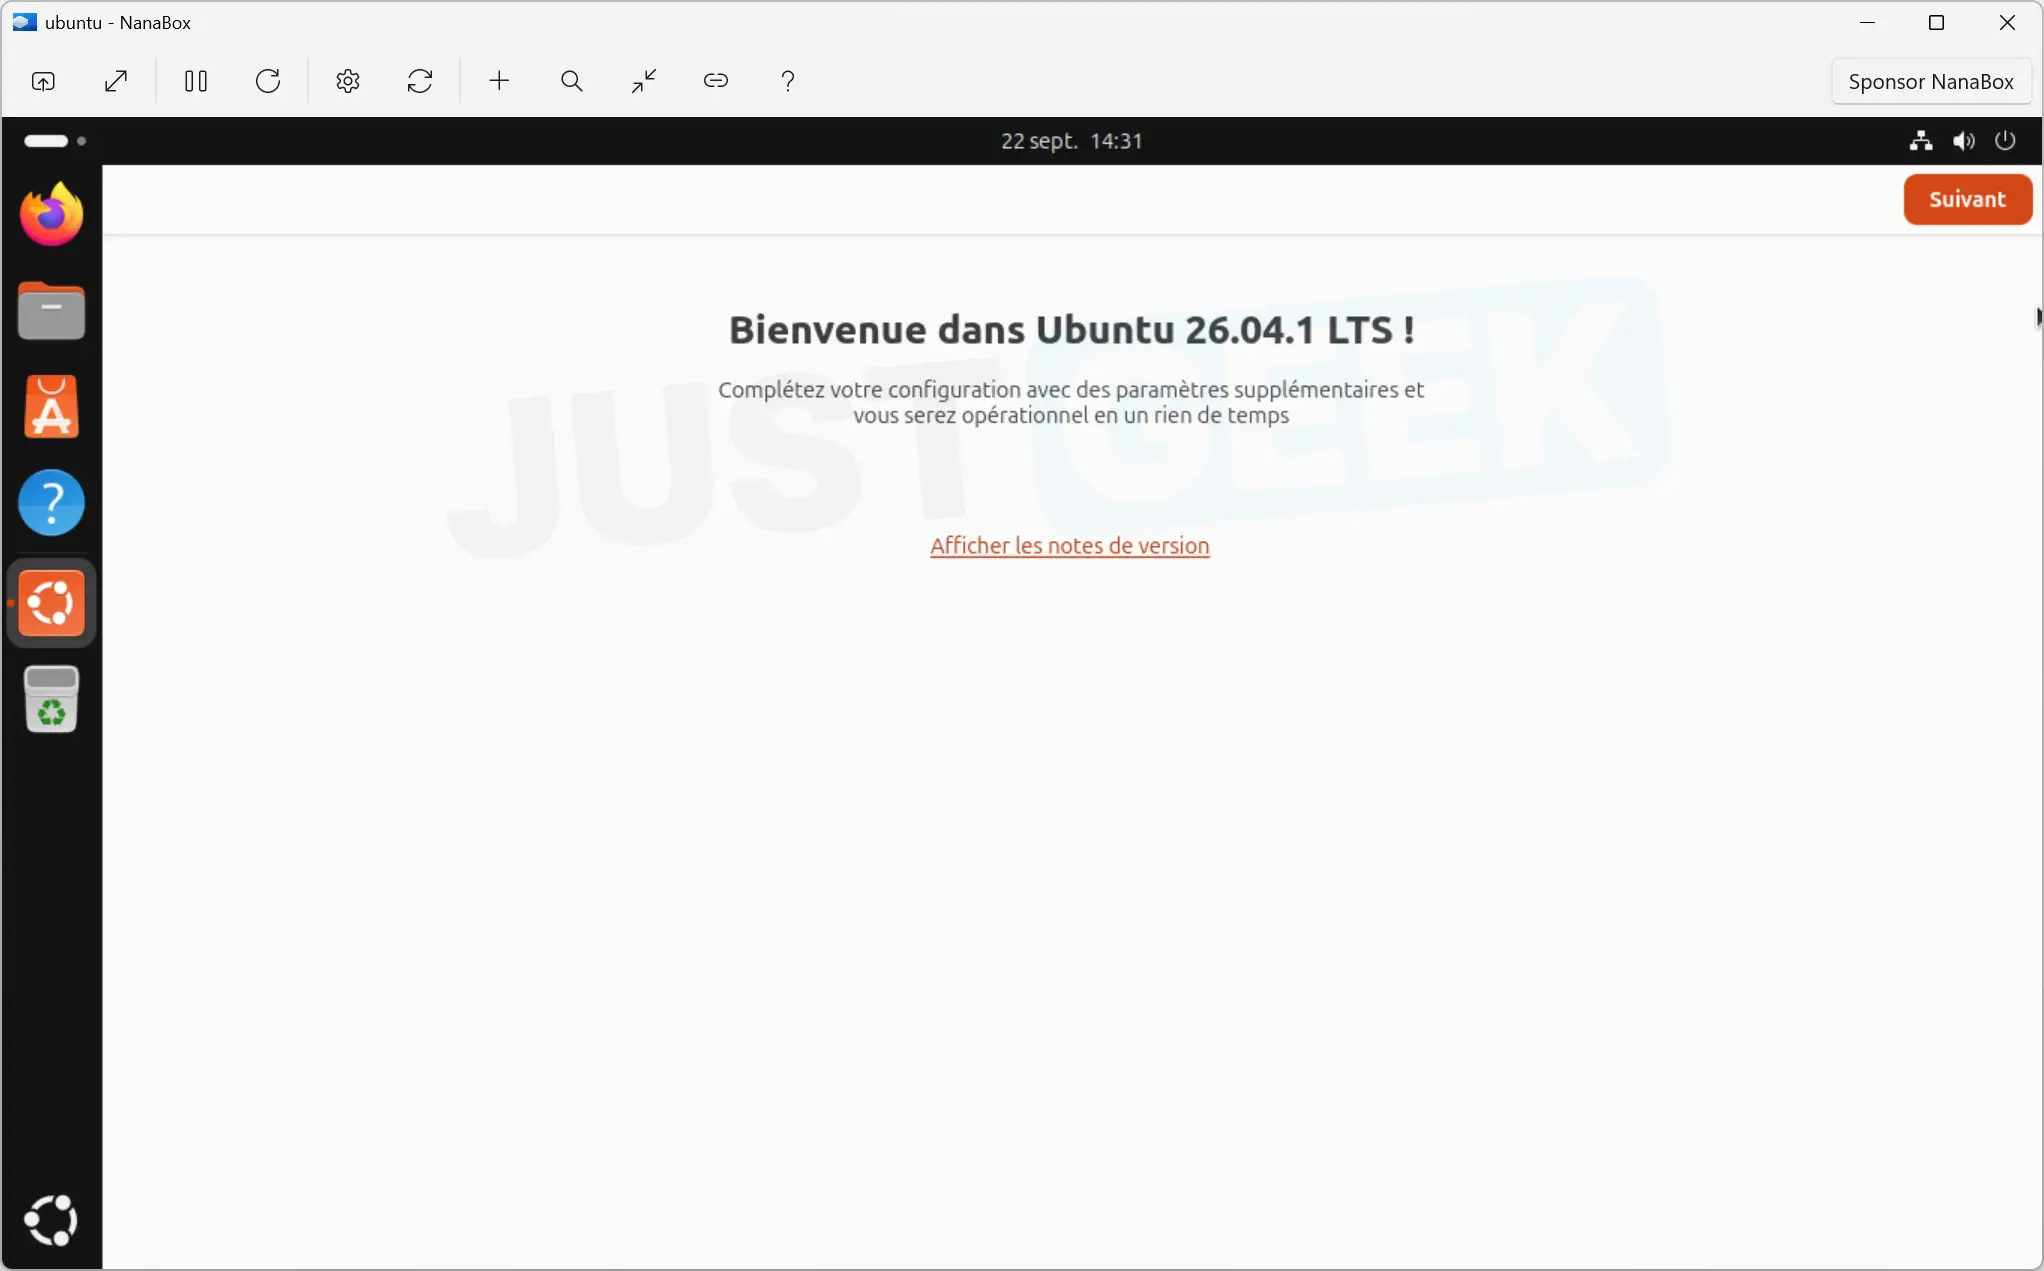
Once on the Ubuntu desktop, start the installation and follow the different steps. When choosing the destination disk, select our 64 GB virtual disk. You can delete it without risk to your Windows installation, since everything happens inside the VHDX file.
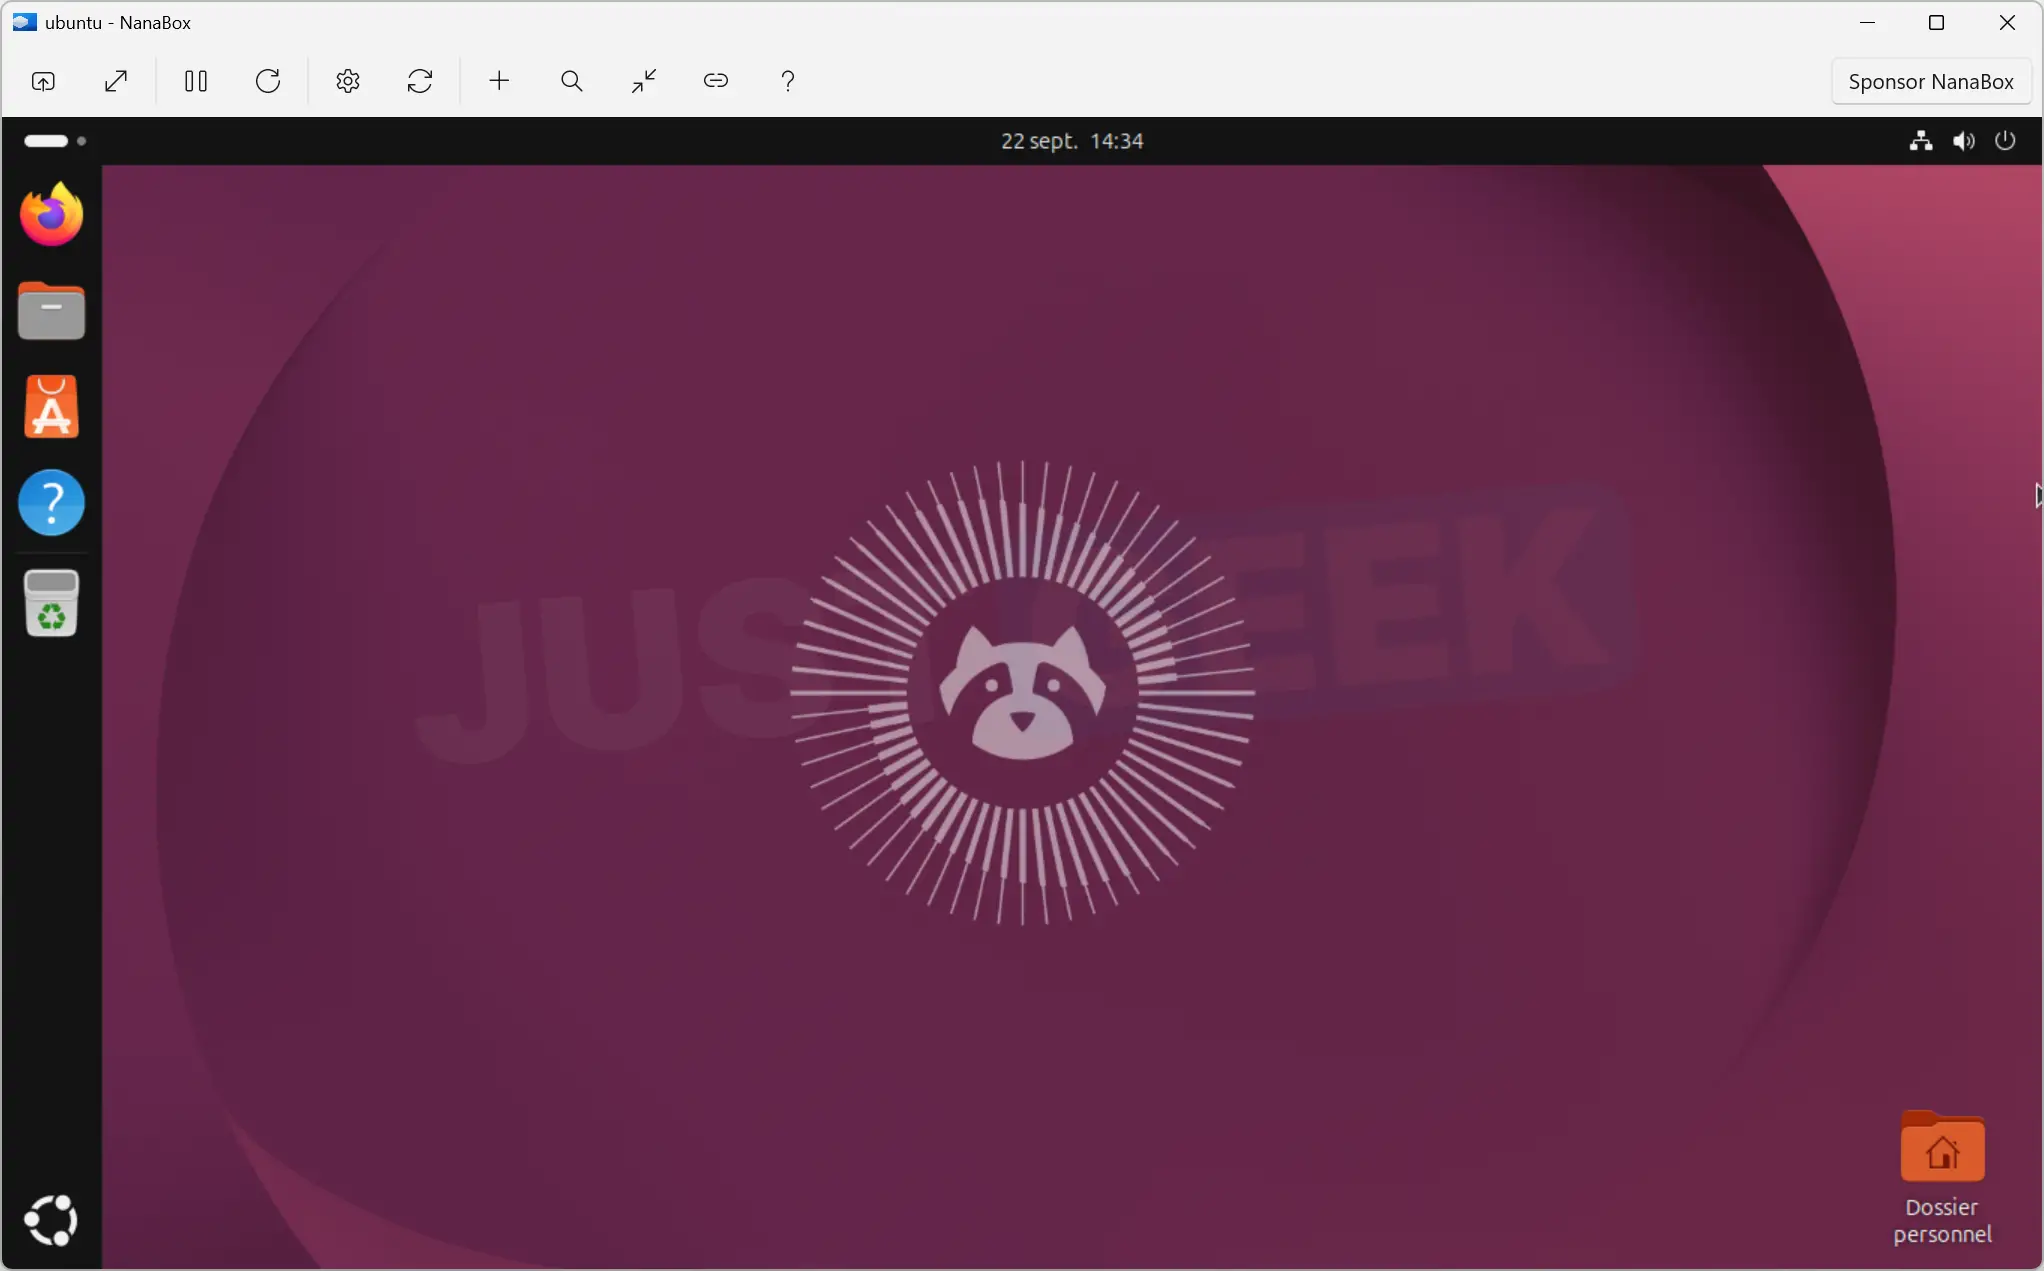
Once the installation is complete, Ubuntu asks you to reboot. To check that everything was working correctly, I shut down my virtual machine before rebooting it from NanaBox, still with the same ubuntu.7b file.
And there is no problem there. Ubuntu booted directly to the virtual disk, without going through the installer again or having to manually delete the ISO image.
My opinion about NanaBox
To begin with, I am quite satisfied with NanaBox. I was able to install Ubuntu 26.04.1 LTS and run it again without problems. I initially wasted a bit of time with the 2GB of RAM and two vCPUs allocated by default. Once these values increased, I was able to complete my installation.
The main criticism I would make of NanaBox is having to open a JSON file to modify settings as basic as RAM or the number of processors. A small window dedicated to these parameters would be even more practical. Otherwise, I like its minimalist approach: you create your VM, save its configuration file, and run it when you need to. No need to do more.