
By default, macOS hides certain files and folders to prevent accidental edits. These items are generally used by the system or certain applications to store configuration data.
However, it can be useful to access it in certain situations, particularly during troubleshooting, to modify a configuration file, or to follow a tutorial that requires access to a normally invisible folder.
In this tutorial, we will look at three methods to show hidden files and folders on Mac: directly from Finder using a keyboard shortcut, through Terminal, or using the free Onyx software.
Method 1: Show hidden files from Finder
The quickest method is to use a keyboard shortcut directly in Finder. No additional software is needed and the manipulation works on all versions of macOS.
First open the Discovererthen go to the folder of your choice.
Then press the keys simultaneously:
⌘ + ⇧ + . (Command + Shift + Period)
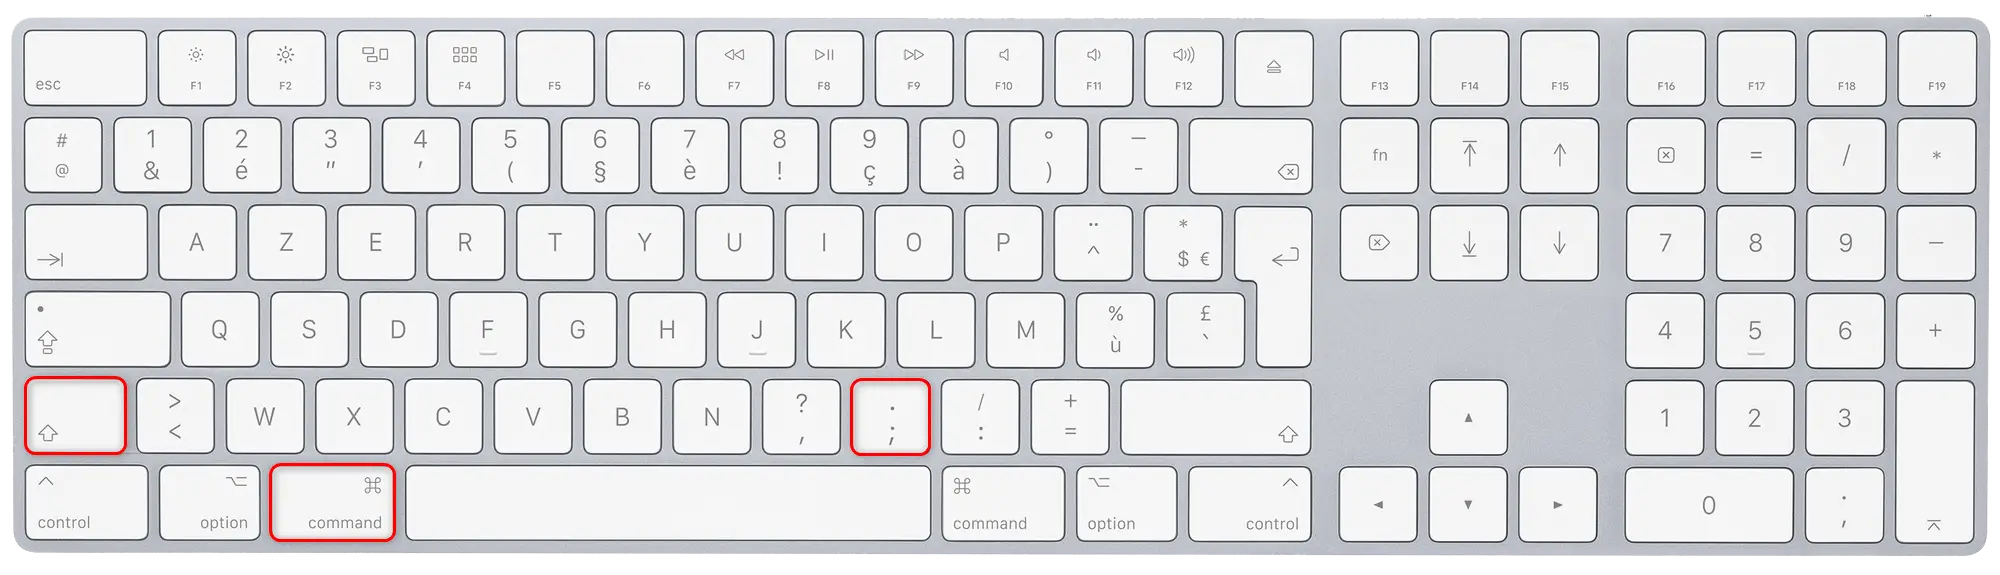
Hidden files and folders appear immediately in the Finder window. They generally appear slightly grayish to distinguish them from other elements.
To hide them again, simply use the same keyboard shortcut.
This method is ideal when you need to occasionally access a hidden file or folder without changing system settings.
Method 2: Show hidden files with Terminal
macOS also allows you to permanently show hidden files and folders using a Terminal command.
To get started, open the app Terminal. You can find it at Applications > Utilities or search for it with Spotlight.
Then enter the following command and then validate with the key Entrance :
defaults write com.apple.finder AppleShowAllFiles trueOnce the command is executed, restart Finder with the following command:
killall FinderFinder automatically restarts and hidden files become visible.
If you want to revert to the default macOS behavior and hide these items again, use the following commands:
defaults write com.apple.finder AppleShowAllFiles false
killall Finder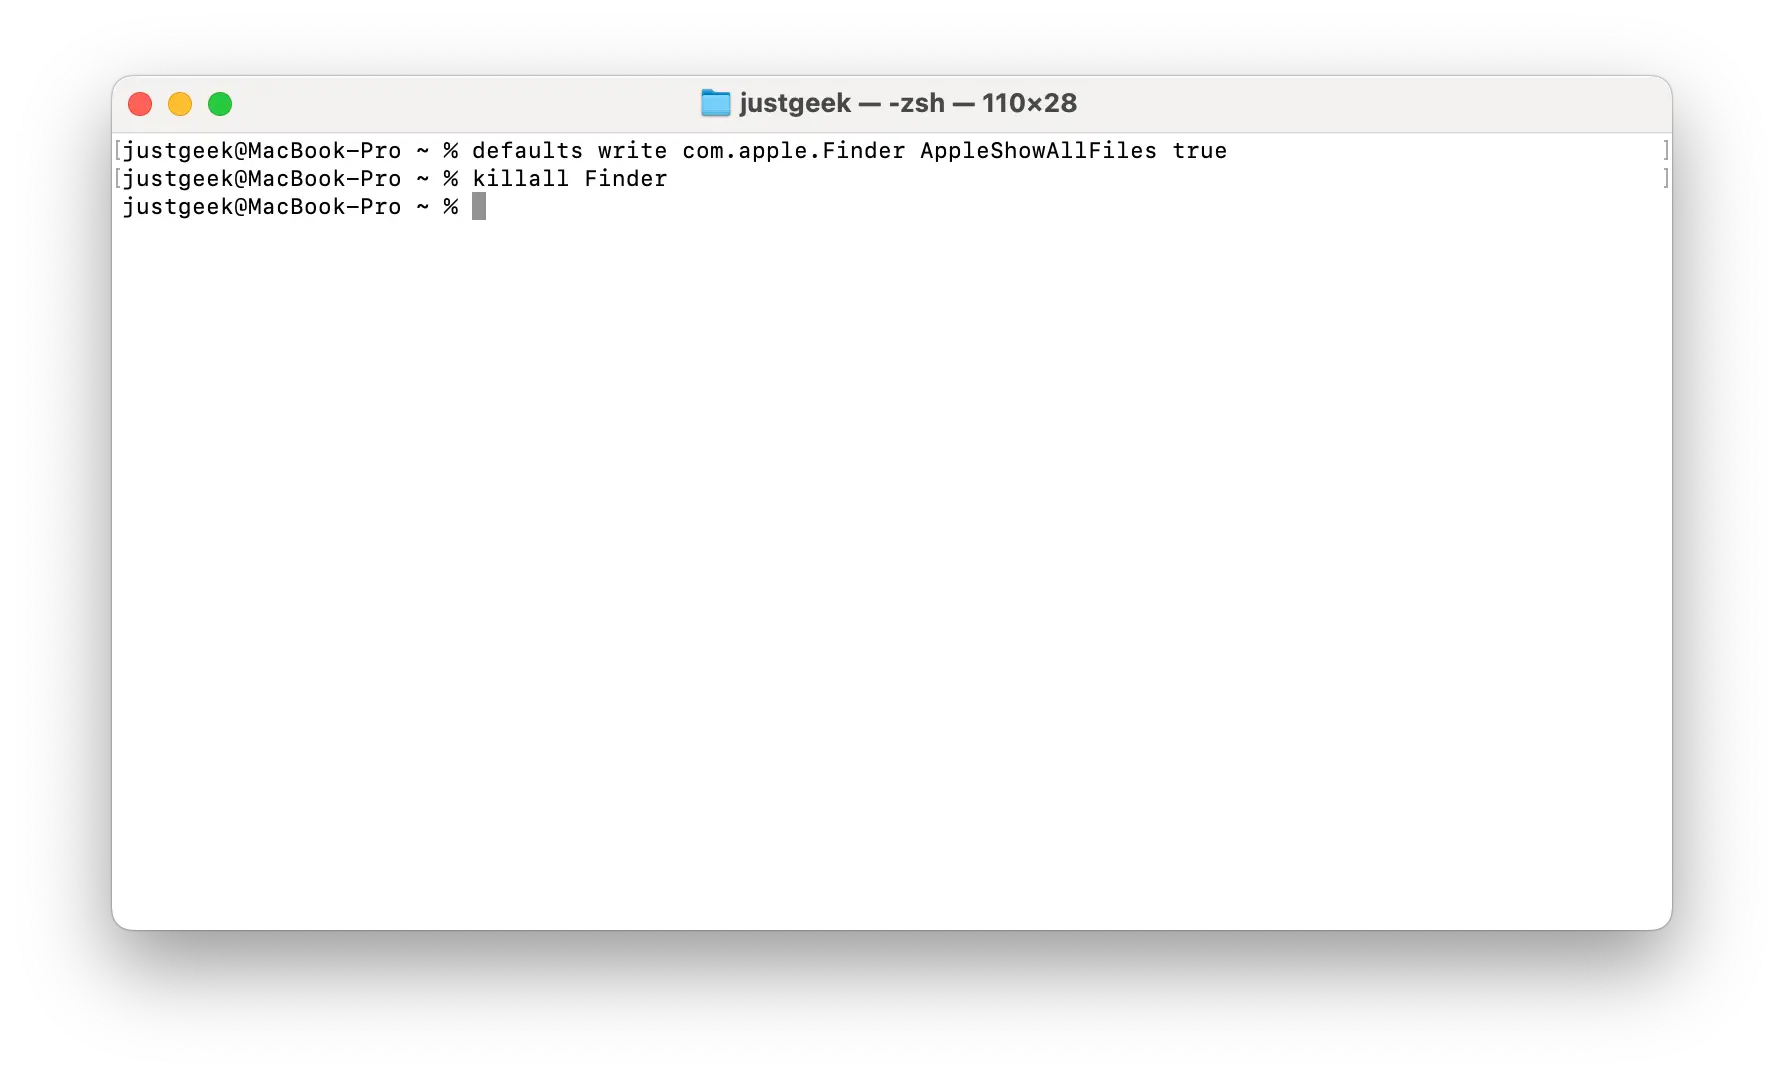
This method is particularly handy if you want to keep hidden files displayed permanently.
Method 3: Show hidden files with OnyX
If you prefer to use a graphical interface instead of Terminal, you can go through Onyxa free utility that allows you to modify many macOS settings.
Start by downloading and then installing OnyX from its official website. Once the application is launched, click “ Settings ”, then open the “ Discoverer “.
Then activate the option “ Show hidden files and folders ”, then click “ Continue » when OnyX asks you to restart Finder.
After restarting Finder, hidden files and folders become visible immediately. To hide them again, simply disable this same option and then restart Finder again.

read : 👉 OnyX: a complete cleaning utility for your Mac
Precautions to take before handling hidden files
Now that you know how to reveal hidden files and folders on your Mac, a few caveats are in order. Remember, Apple hides them for good reasons:
- Avoid deleting or renaming system files whose purpose you don’t understand, otherwise you risk ruining everything.
- Only modify the contents of these folders if you know exactly what you are doing.
- If possible, opt for read-only access to limit risks.
- Remember to hide hidden files again after your operations to avoid accidents.
- Make regular backups with Time Machine in case something goes wrong.
In short, drive with caution!