There screenshotalso called screenshot (or screenshot in English), is an essential feature. It allows you to keep a visual trail of the information displayed on the screen, whether it is an important document, a captivating image or a system error. In this article we explore the different methods For take a screenshot on PCwhether you use Windows, Mac or Linux. Follow these simple steps to master the art of taking screenshots!
Take a screenshot on Windows, Mac and Linux
Whether you’re on Windows, Mac, or Linux, there are several methods to capture what’s displayed on your screen. Here is a detailed guide for each operating system.
Method #1: Using the Print key. keyboard screen
On Windows:
This is the simplest method to capture entire screen in Windows :
- Press the key Print screen (EITHER Print EITHER Print Screen EITHER Print screen) on your keyboard.
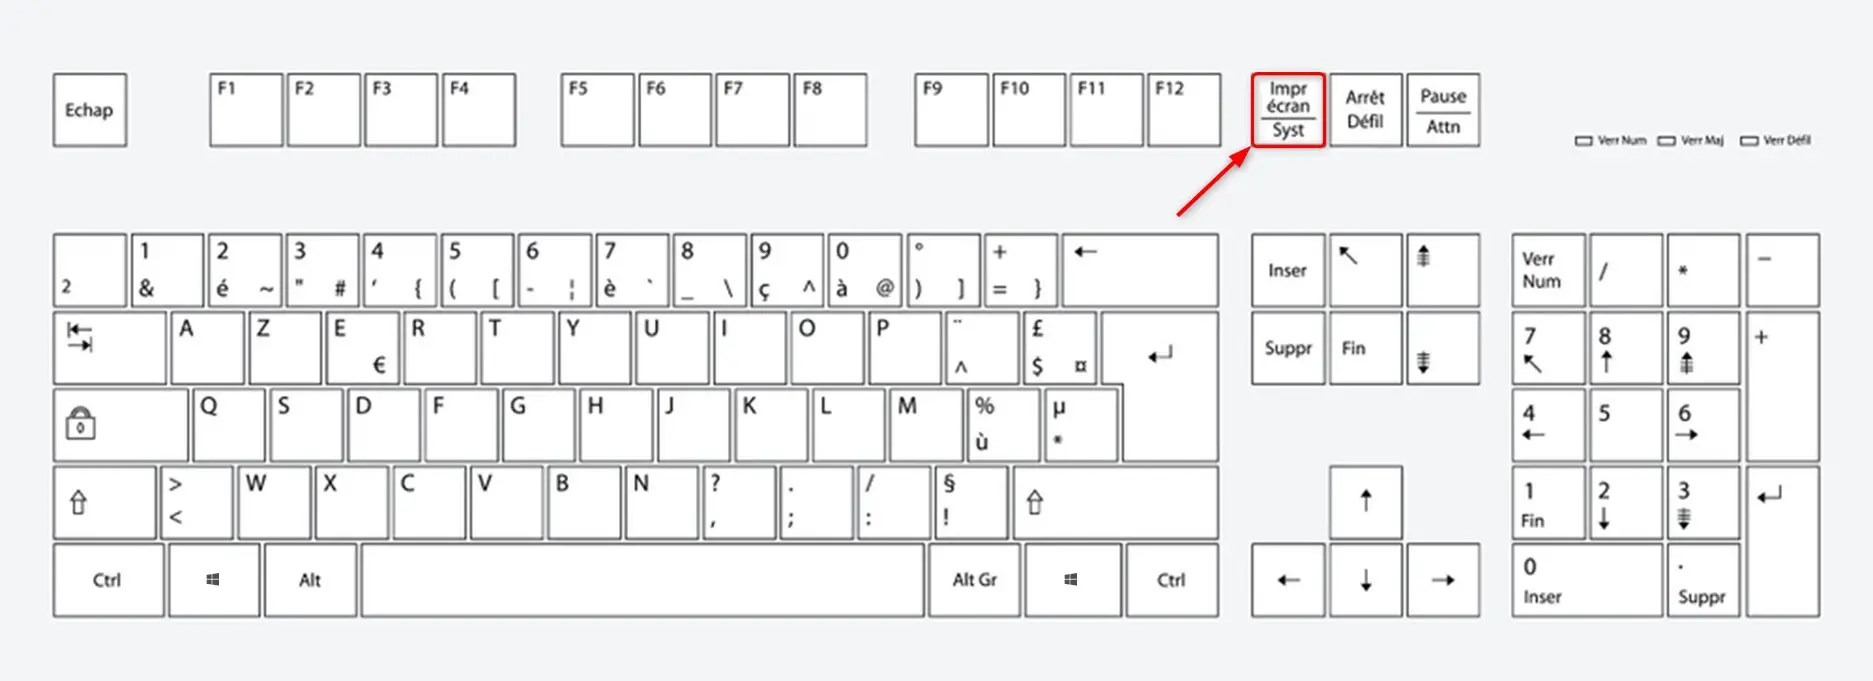
- The image of your screen is then copied to the clipboard and saved in the following folder:
C:\Users\[Votre nom d'utilisateur]\Pictures\Screenshots- Open an image editing program (Paint, GIMP or Photoshop), a word processor (Word, LibreOffice Writer, etc.) or a presentation program (PowerPoint) and paste the image there using, for example, the key combination. CONTROL + V.
- You can then edit your image as you see fit before saving it in the format of your choice.
For take a screenshot and automatically save it in Windowsproceed as follows:
- Press the keys simultaneously windows + Print screen of your keyboard.
- The screen will briefly go dark and the screenshot will automatically save to the Pictures > Screenshots folder.
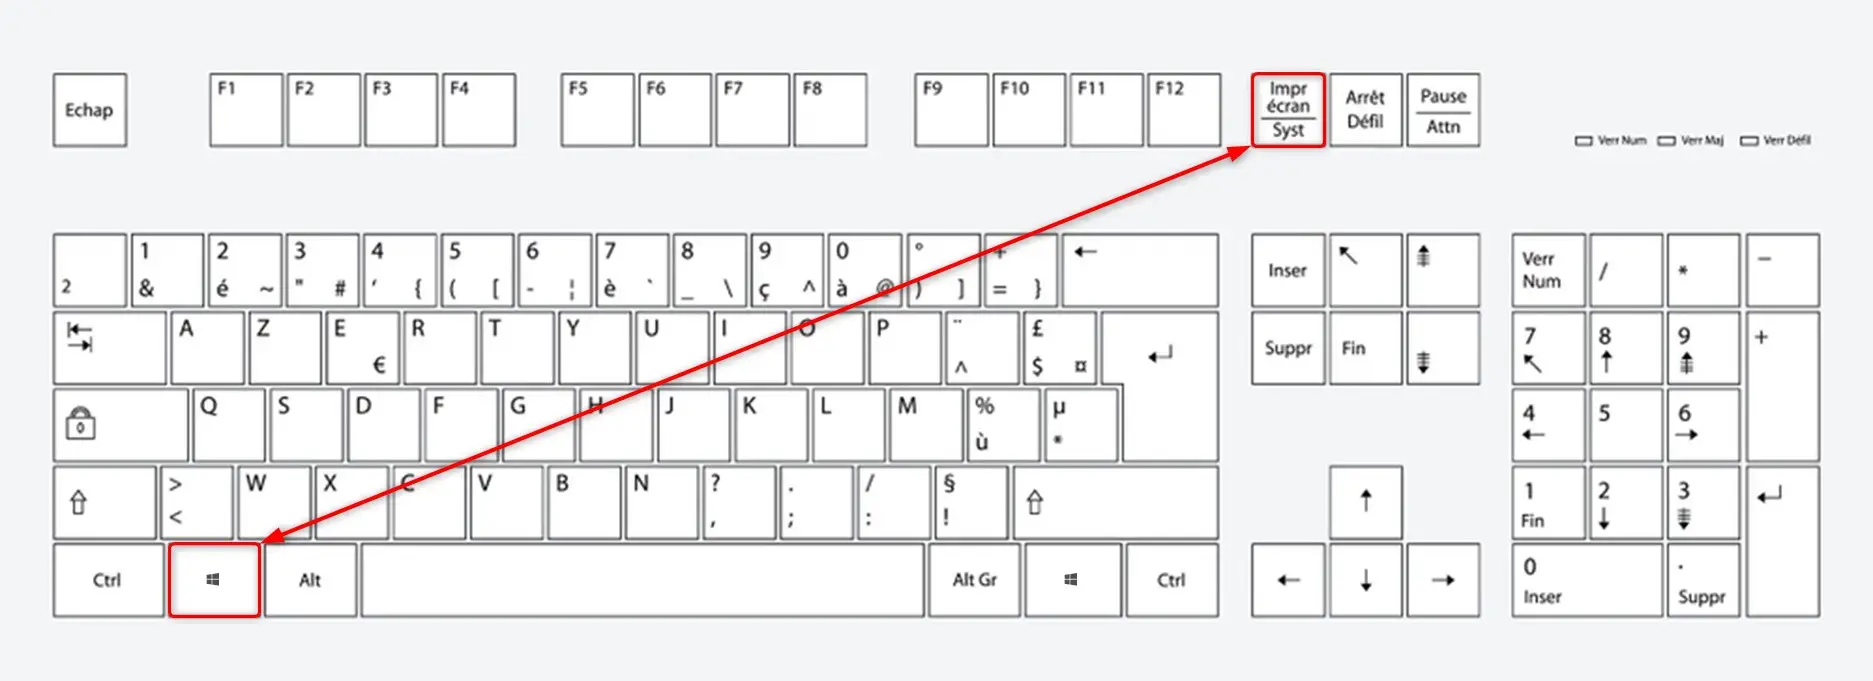
For take a screenshot of the active window in Windowsproceed as follows:
- Press the keys simultaneously HIGH + Print screen of your keyboard.
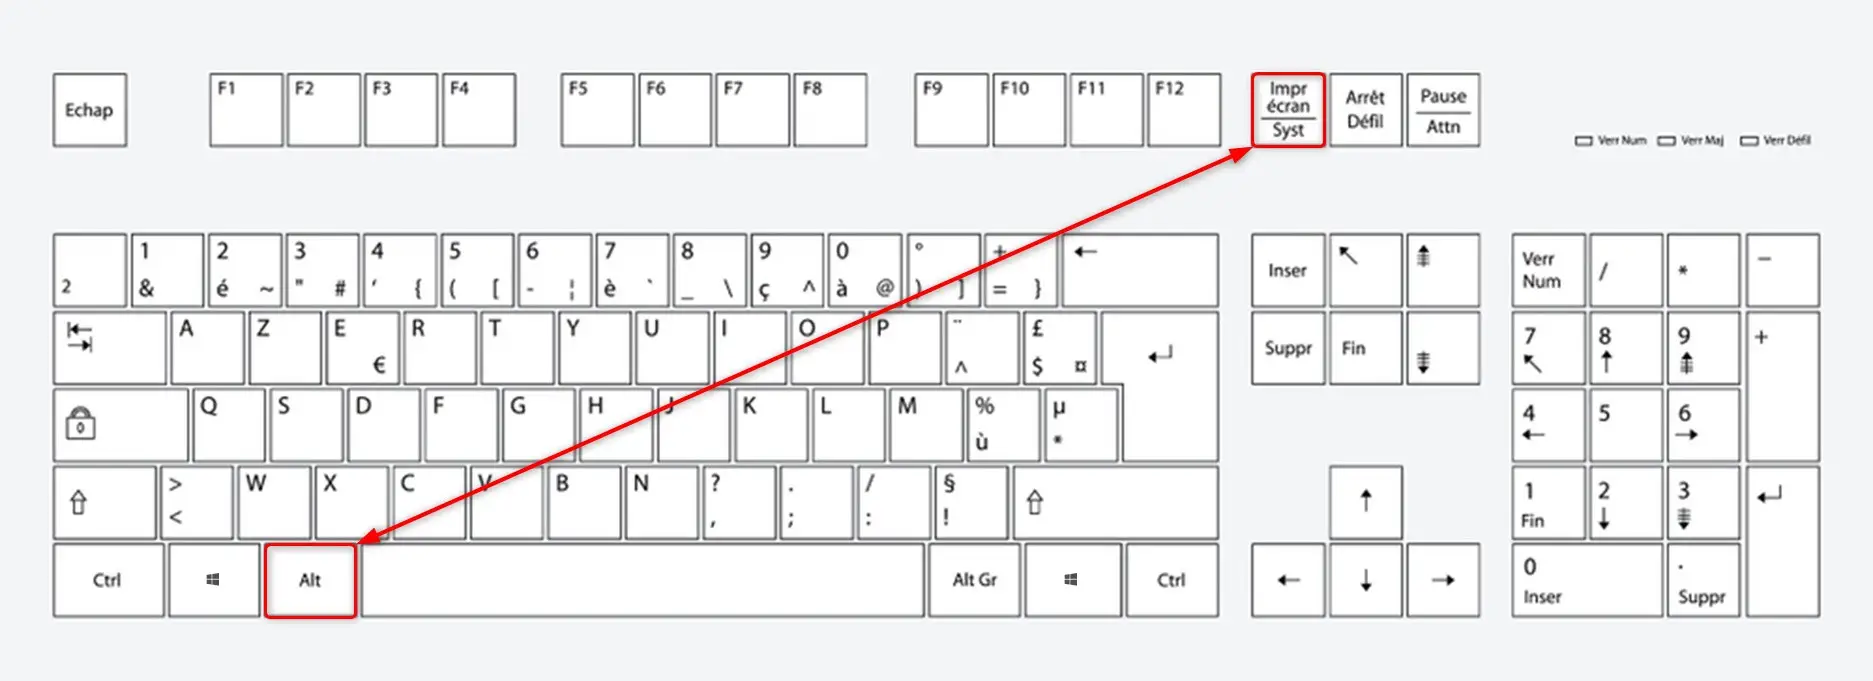
- The screenshot of the active window is then copied to the clipboard.
- Only the active window will be captured.
On Mac:
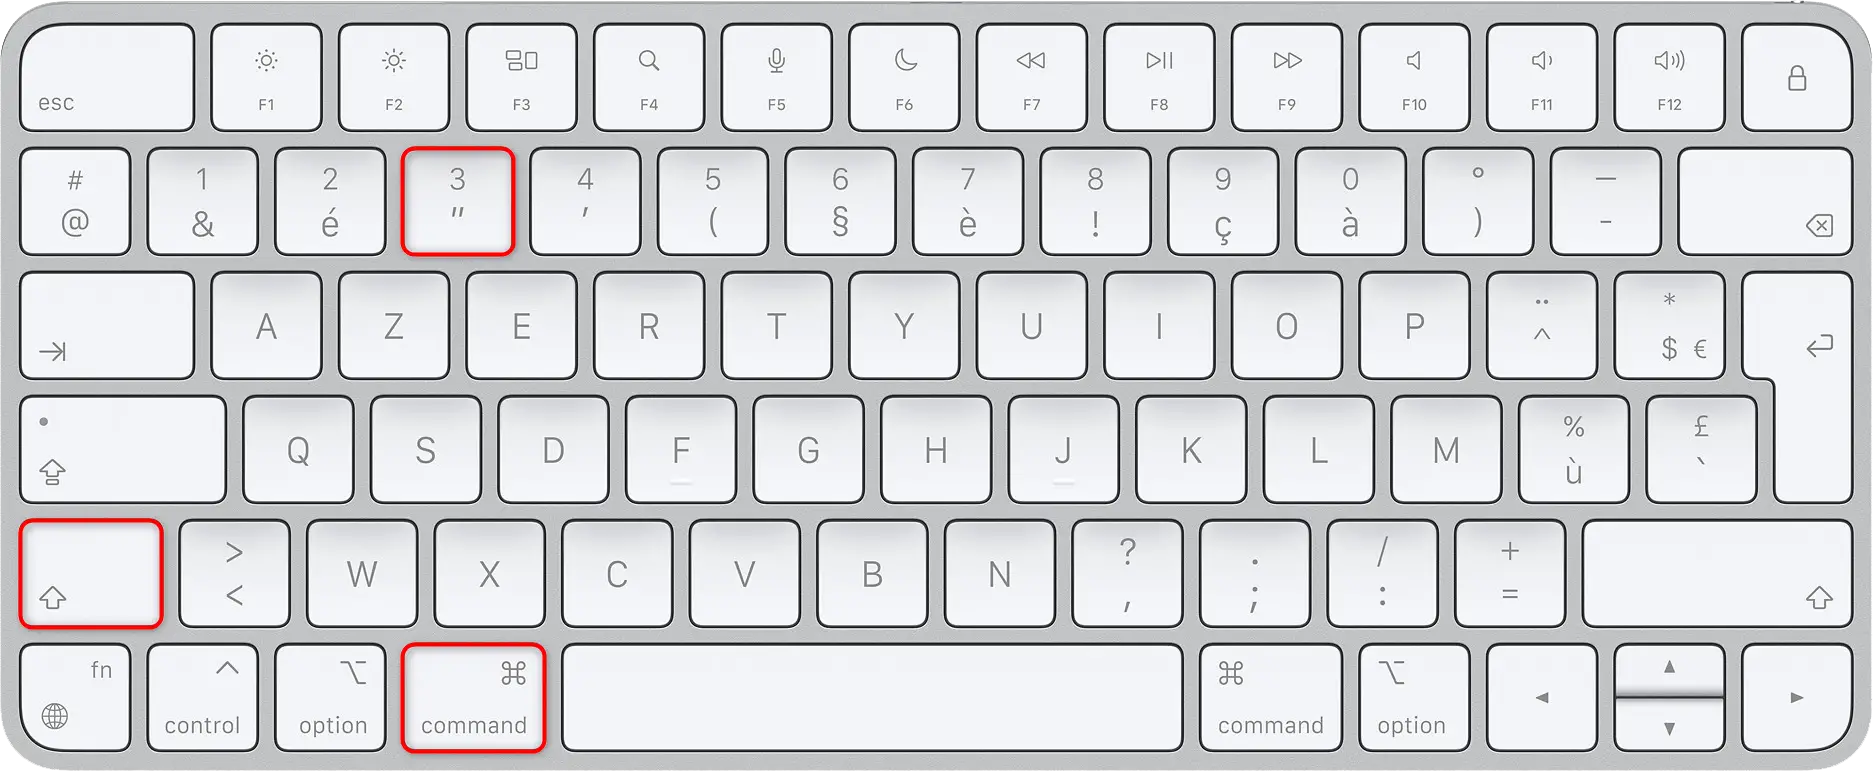
For capture full screen on Macproceed as follows:
- Press the keys simultaneously Shift⇧ + Order⌘ + 3.
- The screenshot is automatically saved to the desktop.
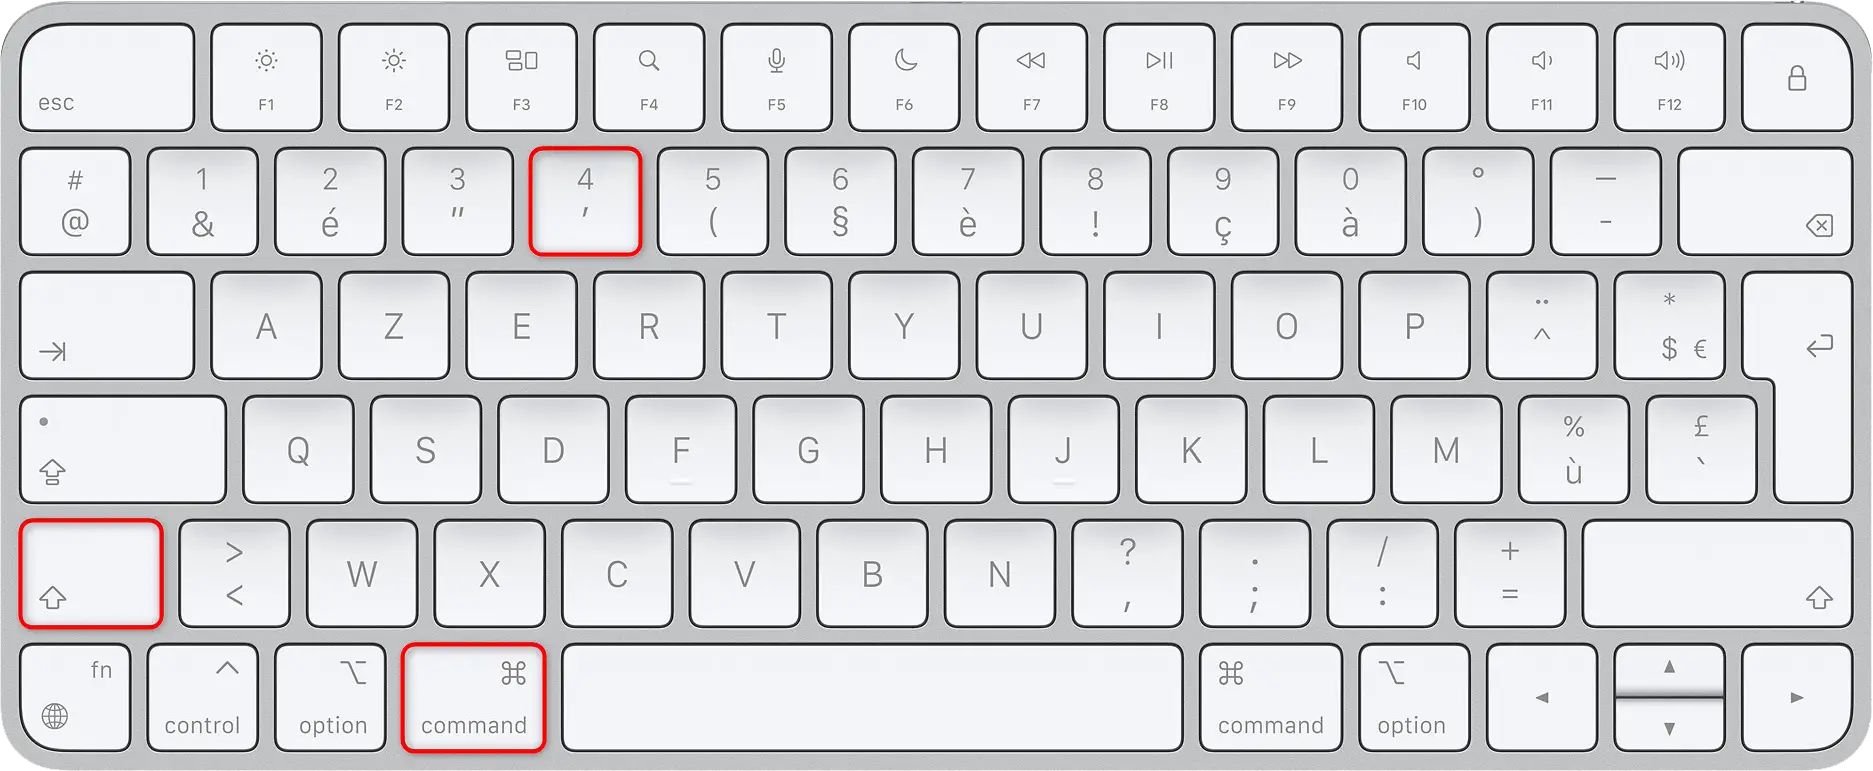
For capture active window on Macproceed as follows:
- Press the keys simultaneously Shift⇧ + Order⌘ +4.
- The mouse cursor becomes a small target.
- Press the space bar on your keyboard and click on the desired window.
- The image is also saved to the desktop.
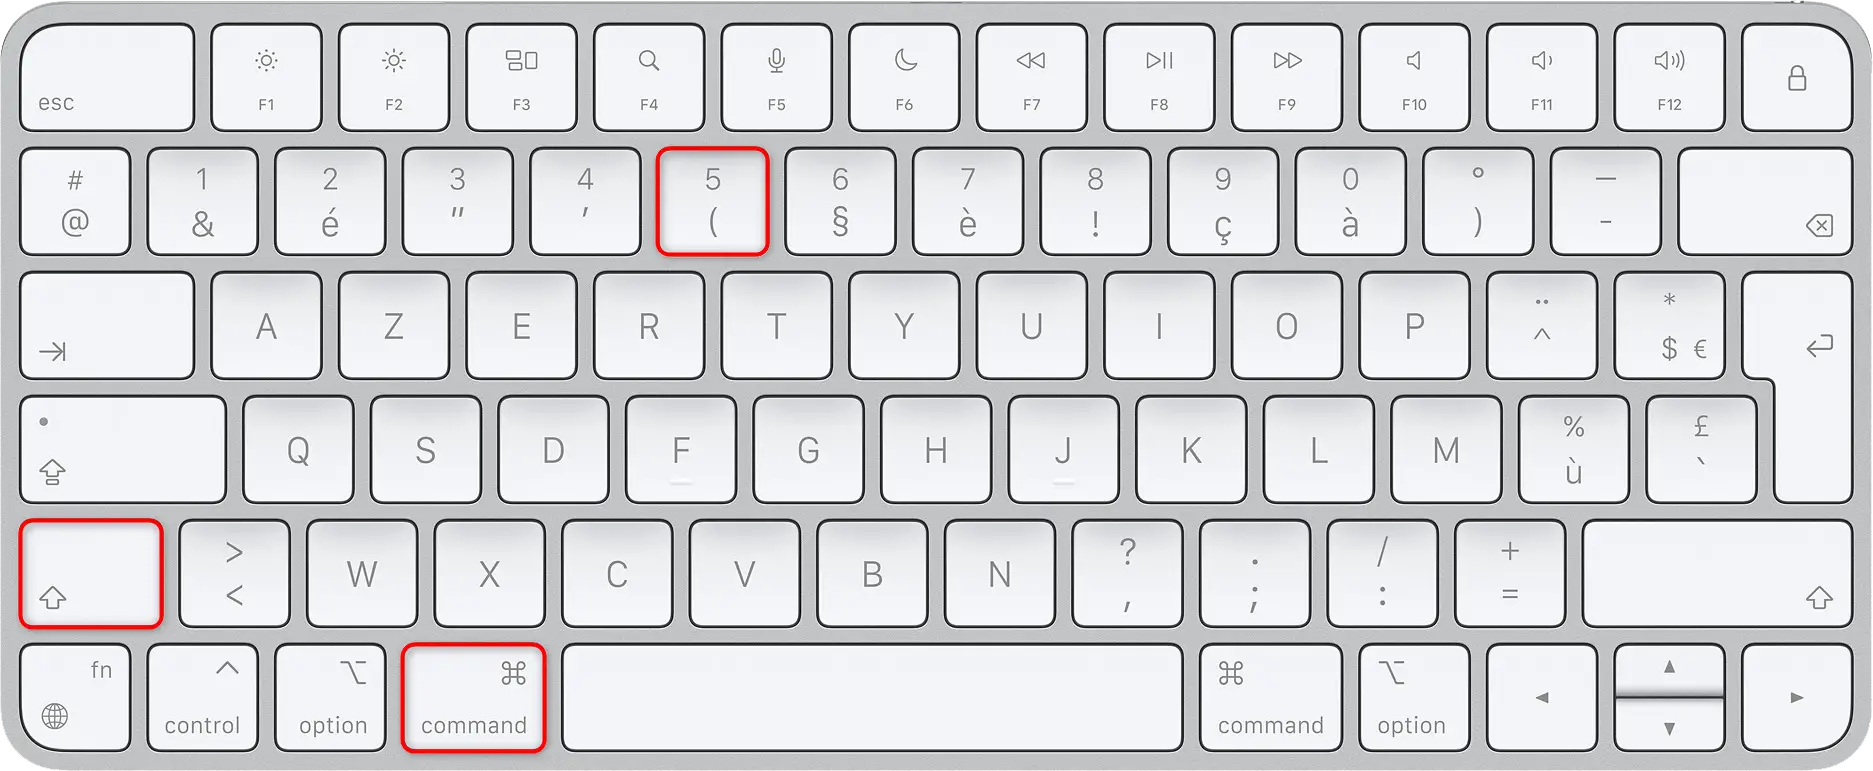
Otherwise, you can also open macOS’s built-in screenshot tool. To do this, follow these few steps:
- Press the keys simultaneously Shift⇧ + Order⌘ + 5.
- A small toolbar opens at the bottom of the screen with the different capture modes:
- Capture the entire screen
- Capture selected window
- Capture the selection
- Record full screen
- Save selected part
- Select the mode you want and then use the mouse cursor to capture.
📝 Note – From the “Options” menu, you can change the default directory for screenshots on your Mac or even set a timer.
On Linux:
For take a screenshot in Linuxthe key Print screen Generally it works the same as in Windows, but this may vary depending on the distribution. Some desktop environments, such as GNOME or KDE, have their own screenshot tools.
Method #2: Using the Windows Screenshot Tool
The screenshot tool built into Windows 11/10 offers a convenient and versatile solution for taking screenshots. It is particularly useful for accurately capturing specific parts of the screen.
On Windows 11 and Windows 10:
For open and use the Screenshot tool in Windows 11 or 10proceed as follows:
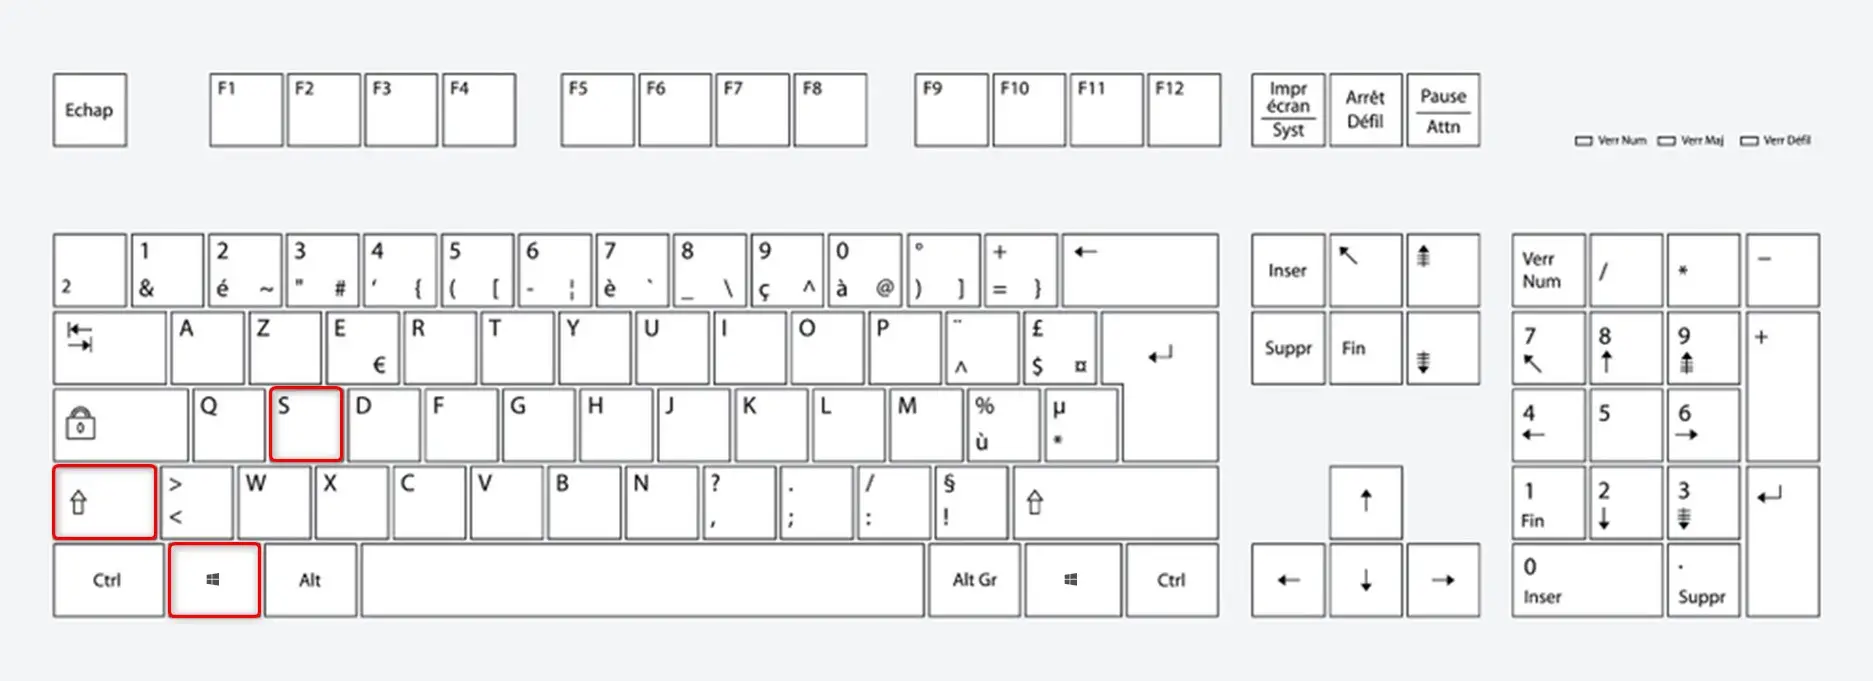
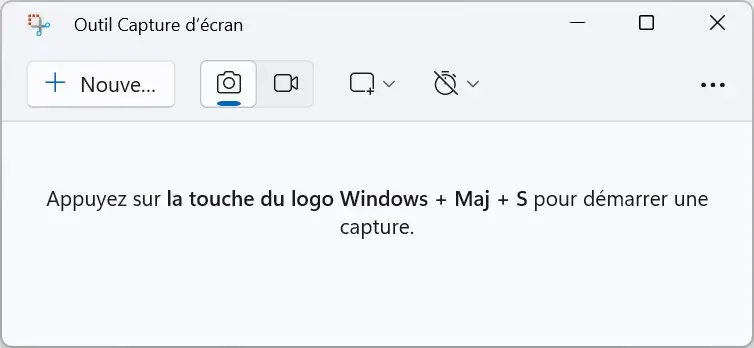
- Press the keys simultaneously windows + Change + Yes. This dims the screen and displays a small toolbar at the top.
- In the toolbar, you can choose between several capture modes:
- Rectangular: Allows you to draw a rectangle to capture a specific area.
- Freeform – Provides the ability to draw an arbitrary shape to capture.
- Window: Captures the active window.
- Full Screen: Capture the entire screen.
- After selecting the mode, use the mouse to define the area to capture.
- Once captured, it is automatically copied to your clipboard. You can paste it (CONTROL + V) in any image editing or word processing application to save and edit it.
Method #3 – Using LightShot Software for Windows and Mac
LightShot is a versatile and easy-to-use screenshot software available for Windows and Mac users. This free software stands out for its ease of use and built-in editing features.
- Download the software light shot from the developer’s official website.
- Continue installing the software on your computer.
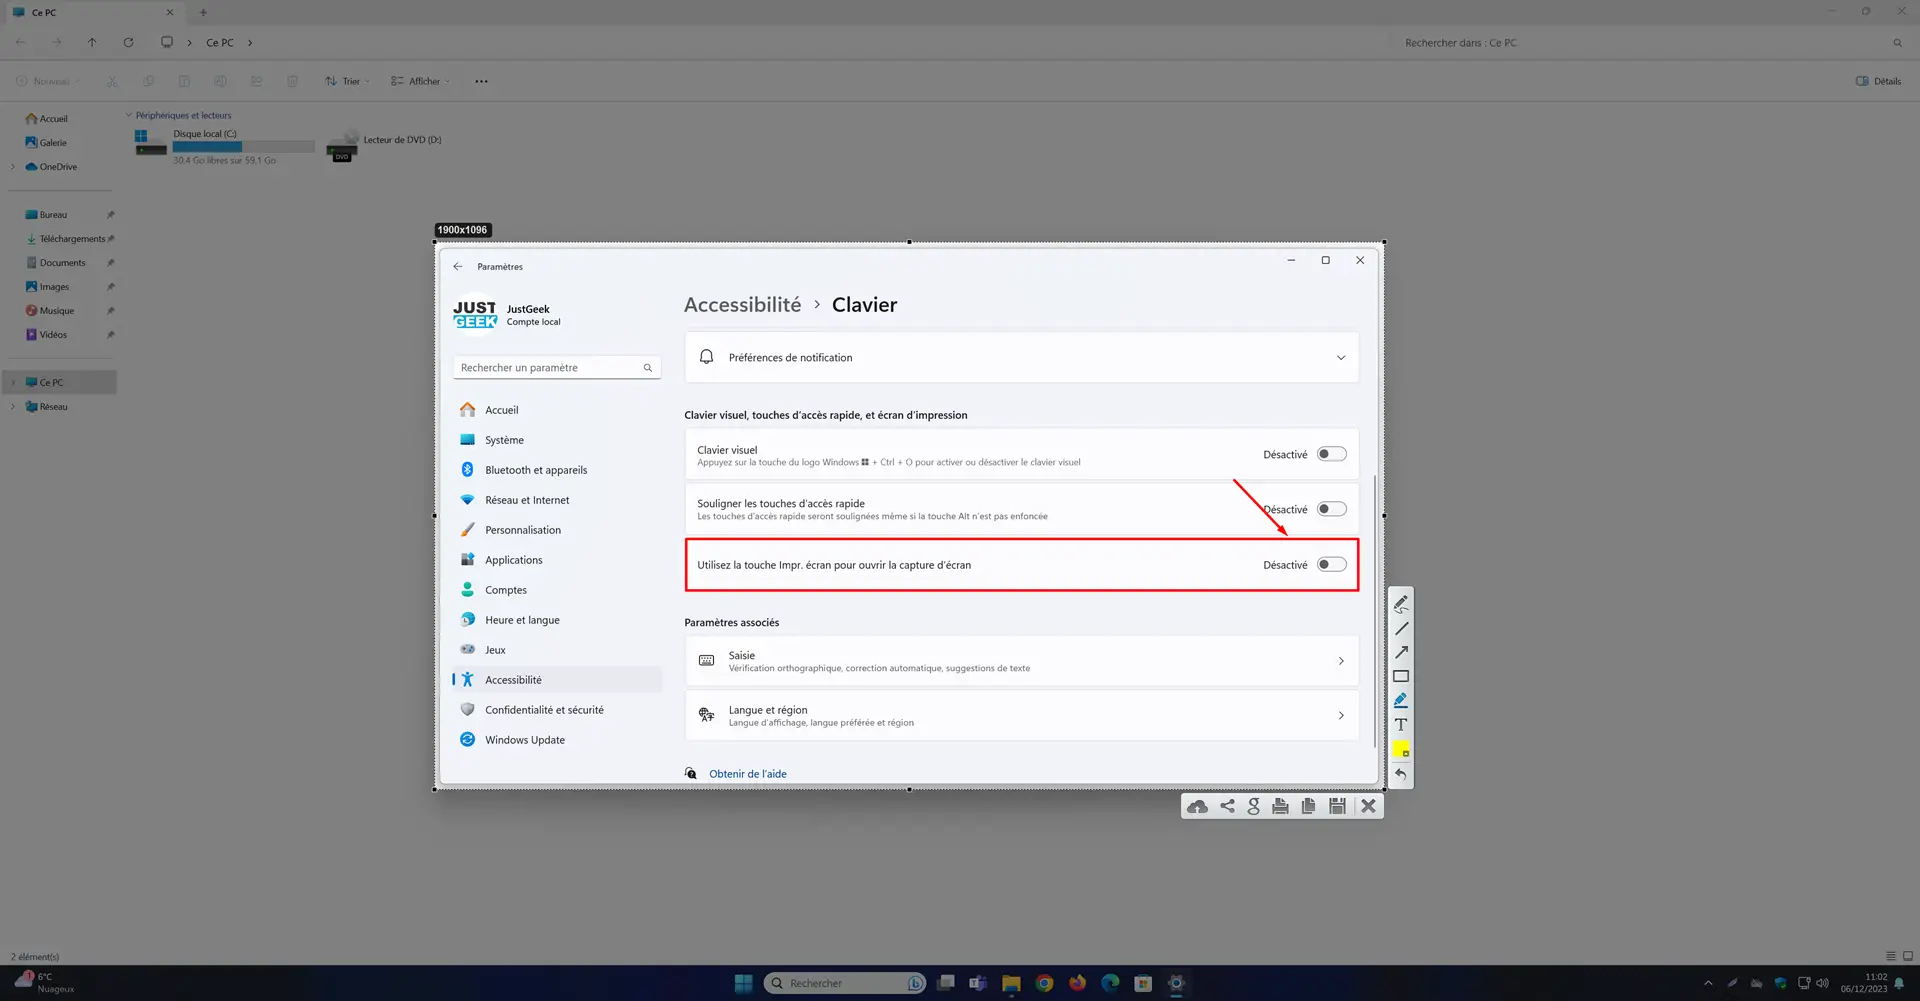
- Once installed, LightShot overrides the default button functionality Print screen on your keyboard. To start a screenshot, simply tap Print screen.
- After pressing Print screenThe screen will darken slightly, allowing you to select the area you want to capture with the mouse.
- Once the area is selected, LightShot offers a variety of editing tools right on the capture screen. You can add text, arrows, use drawing tools, or highlight specific parts of your capture.
- After making edits, you can choose to save the image directly to your computer, copy it to the clipboard, or even share it online through several built-in options.
Take a screenshot in your web browser (Chrome, Firefox or Edge)
Capturing a specific part of your web browser screen can be extremely useful, whether for sharing information found on the Internet or documenting technical issues. Below we explain how you can take screenshots directly in the most popular web browsers (Chrome, Firefox or Edge).
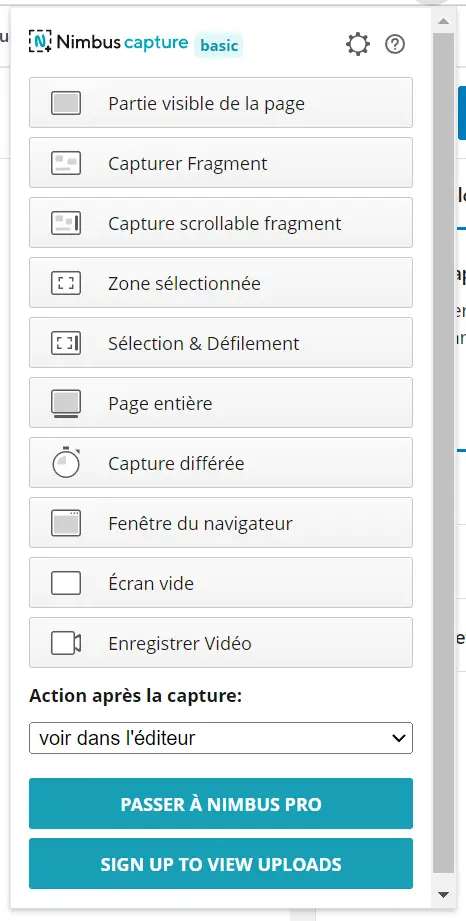
- Start by installing the extension Nimbus Capture in your browser.
- Once the extension is installed, you will see the Nimbus Capture icon in your browser toolbar.
- Click the icon to open the capture menu. You can choose between several options:
- Full Page Capture – Capture all the content of a web page, even beyond what is visible on the screen.
- Capture visible part – Capture only the currently visible part of your browser window.
- Capture a selected part: Manually select a specific area of the page to capture.
- Self-Timer Capture – Take a screenshot after a set delay, useful for capturing drop-down menus or other interactive elements.
- After capture, Nimbus Capture offers annotation tools. You can add text, arrows, shapes, blur parts, and more.
- Save your screenshot.
Of course, this is not the only extension that can take screenshots in your web browser. You also have FireShot, which is a great alternative and is available in many browsers, such as Chrome, Firefox, Edge, Safari AND Opera.
Other Screen Capture Software
In addition to built-in methods and browser extensions, several third-party programs offer advanced and customizable features for screenshots. These are some of the best tools available:
ShareX
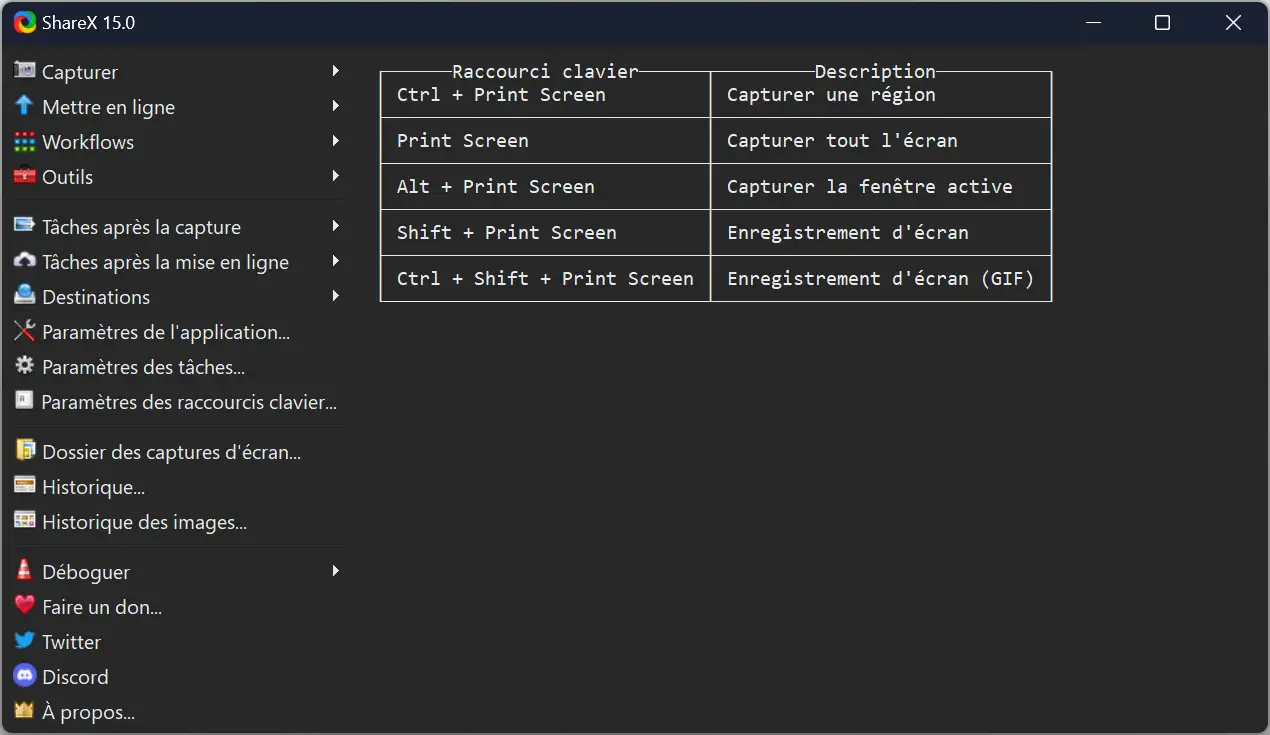
ShareX is a free and open source screenshot tool for Windows, known for its versatility and many features. It not only allows you to take classic screenshots, but also record videos and convert these captures into GIFs. ShareX offers extensive customization options, including keyboard shortcuts, post-capture editing tools, and the ability to upload images directly to online storage platforms.
green shot
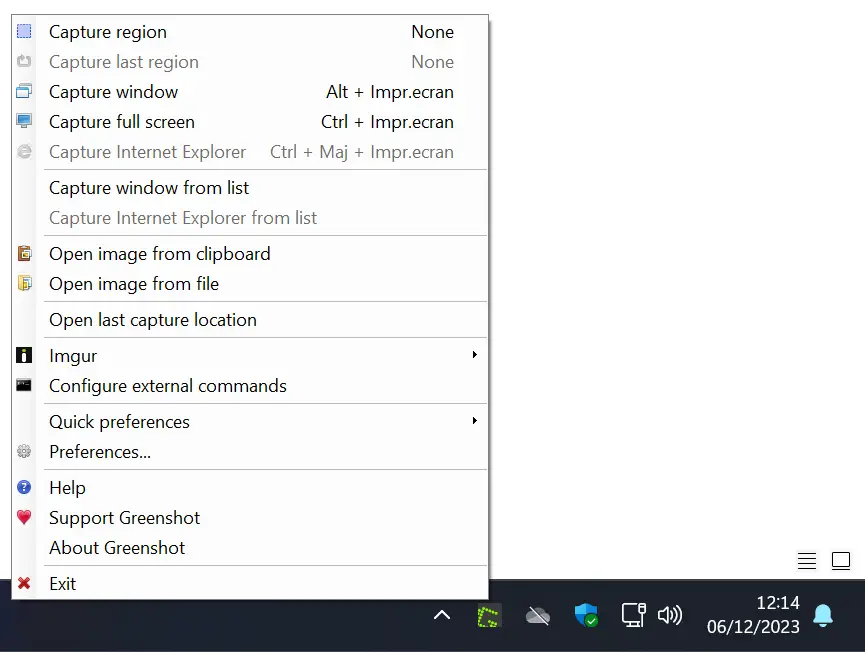
green shot is another lightweight and easy-to-use option for Windows and Mac. This tool is ideal for those looking for a quick and efficient solution for screenshots. Greenshot lets you capture a window, region, or the entire screen and offers basic editing features like adding text, arrows, and highlights.
screen press
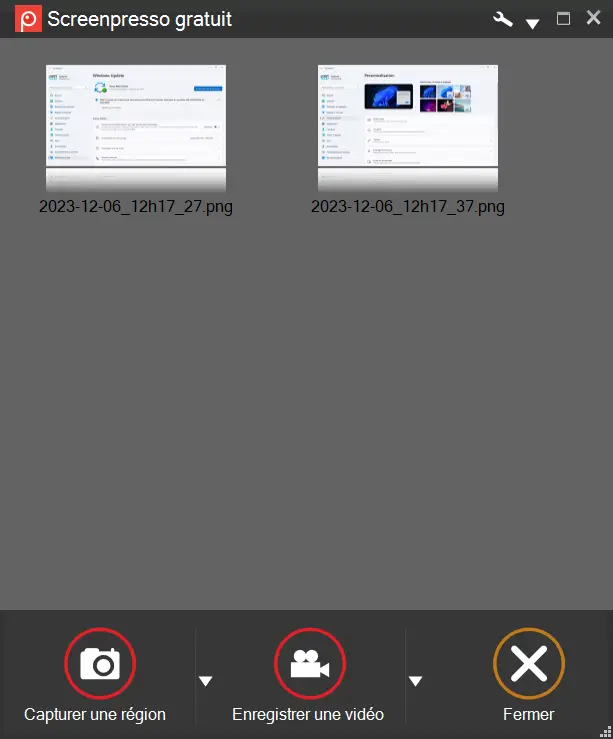
screen press is a screenshot tool for Windows that stands out for its ability to capture scrolling, which is perfect for recording web pages or long documents. It also offers built-in editing features, easy screenshot sharing, and the ability to record screen videos.
ksnip

Ksnip, available for Windows, Mac, and Linux, is an open source screenshot tool that focuses on simplicity and offers flexible editing options. It allows for rectangular, elliptical, window, and free region screenshots, and includes annotation tools to enrich your captures.
Each of these programs has its own strengths, whether in terms of functionality, ease of use, or compatibility with different operating systems. That’s why we let you explore these alternatives and choose the one that best suits your needs.
Conclusion
As you may have understood, there are many options to take a screenshot on a computer. Each operating system offers an effective built-in method, but to meet specific needs or access advanced features, you can turn to third-party screenshot software.