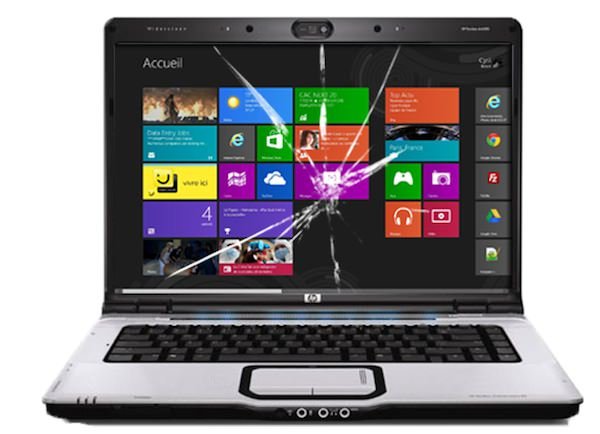
You could drop or hit your laptop violently. This material, being extremely fragile, can cause the screen to crack or simply break. Don’t worry, your computer is not dead, it is completely possible to replace the screen in a few steps, without going to a repairman. This will save you time and money.

Here is a tutorial to change your computer screen and give it a new life:
Before starting
1. First, you must identify your laptop model and its screen size. From there, you can search for a panel compatible with your computer. You can turn to Ebay or the Distrib-Informatique.com site, which will also be able to advise you. Depending on the size of your screen, count on about a hundred euros for a new panel.
2. Get yourself a Phillips screwdriver and a flat screwdriver.
This tutorial can be used for most laptops; Depending on the model, the procedure will be slightly different but the principle remains the same.

Step 1:
The first thing to do before changing a laptop component is to turn it off and then remove the battery to avoid a short circuit.

Step 2:
Using a flat screwdriver, remove the rubber from the screws around the screen and hold them secure.

Step 3:
Positioning your Phillips screwdriver like the image below, remove the screws from the sides.

Step 4:
After removing the screws, starting at the bottom of the screen: insert your fingers into the bottom of the plastic frame. It usually comes off easily; If not, work the plastic in different directions until it comes off. This must be done carefully to avoid breaking the bezel.

Step 5:
With the help of your Phillips screwdriver, remove the screws from the top parts of the screen and store them separately.

Step 6:
After removing the screws, place the screen on the keyboard and you will see the video cable connected to the back of the LCD screen. The connection is made with transparent adhesive tape. This tape must be removed first before disconnecting the cable. Instead, some models will have clips on both sides of the video cable.
Slide the video cable carefully, paying attention to other cables that may be behind or next to the panel: webcam, Wi-Fi antennas, etc.

Step 7 :
At this point, the screen removal process is complete. To reinstall your new screen, simply perform the procedure in reverse:
- Connect the new panel.
- Place it in position.
- Attach the panel to the cover.
- Reattach the frame around the cover and replace the screws that hold it in place as well as the protective rubber bands.
- Replace the battery and turn on your computer.
- The screen works correctly. Here it is again as good as new!